packaging a go cli as a nix flake
after being psyop-ed into using neovim, i have now also been manipulated into using nix, an awesome package manager that deserves more attention.
now i just need u to fall for nix thirst traps
— juwee (@juweeism) March 30, 2024
this is an article on how to package a go cli as a nix flake. however, instead of using a new go project, i will use nanoc, the NanoPack codegen tool written in go as an example, because i think it more practically reflects how a flake is packaged.
this guide assumes that you have some basic knowledge of the nix language. you can learn about the language basics here. regardless, i will try to map nix’s constructs to more conventional JavaScript to hopefully make it easier to understand.
a brief introduction
when you develop a project, you inevitably have to install some tools or libraries, such as cmake, node.js, or in this case, go, onto your system. normally, they are installed globally onto your system. over time, your system will be littered with unrelated tools, all available globally.
furthermore, when two projects require different versions of the same tool, installing it globally is not an option. this happens quite often, for example in node.js or python, when two projects require different versions of node.js. without nix, one might use nvm and pyenv to solve this problem. with nix, however, you will no longer need separate tools to manage it.
the structure of a flake file
a nix flake starts with a file called flake.nix at the root of your project. every flake.nix file contains an attribute set (think records, or objects in JavaScript) that contains the following attributes:
description: a description of your flake.inputs: an attribute set of other nix packages you need for this flake. you can think of this as importing other nix packages.outputs: a function that receives the above inputs as parameters and produces an attribute set of outputs that your flake produce. an output can be an executable, a static library, or even a shell environment which i will get into.
this is what the skeleton of flake.nix looks like:
{
  description = "my awesome flake";

  inputs = { };

  outputs = { ... }: { };
}
so far, the inputs and outputs are empty, so let’s go through each of them.
flake inputs
flake inputs are nix packages that you are importing to your own flake in order to use their outputs. an input can be another git repo, a git submodule, or even a local directory. this page gives an awesome overview of how to include an input in different ways.
nix maintains an official repository of more than 100,000 nix packages that you can import easily (the repository lives on github here.) since nanoc requires some packages from the repository, we will need to include it in our flake file:
{
  # ...

  inputs = {
    # include NixOS/nixpkgs github repo on tag "24.05"
    nixpkgs.url = "github:NixOS/nixpkgs?tag=24.05";
  };

  # ...
}
in javascript, this will look like:
const flake = {
  inputs: {
    nixpkgs: {
      url: "github:NixOS/nixpkgs?tag=24.05"
    }
  }
}
some things to note here:
- nix has a special
githubprotocol for importing a github repository. nixpkgsis just a variable and doesn’t have to benixpkgs, but the convention is to usenixpkgswhen including the official repo.
i have some other flakes that require other inputs, but nanoc is not one of them. don’t worry, i will publish a guide for them as well.
flake outputs
flake outputs are things that a flake produces, be it a static library or an executable. it is defined as a function that receives the specified inputs as parameters and that produces an attribute set that describes the outputs of this flake. to use an input, you can specify the name of the input as a parameter. in nanoc’s case, it will be a parameter called nixpkg, corresponding to what is specified in inputs:
{
  # ...

  outputs = { nixpkgs, ... }: { };
}
translating it to javascript will look like this:
const flake = {
  outputs: ({ nixpkgs }) => ({ })
}
here comes the tricky part - the returned attribute set can contain many different attributes, and many of them require an explicit definition for each system this flake will be on. system here refers to a string that specifies the operating system as well as the processor architecture. the following will be used for nanoc:
"x86_64-linux""x86_64-darwin""aarch64-linux""aarch64-darwin"
unfortunately, i was not able to find official documentation on these magic strings, but they have special meanings in a flake and therefore must be exact. anyways, whenever you come across ${system}, please substitute it with the four strings above (without the quotes). for example a.${system} will expand to a.x86_64-linux, a.x86_64-darwin, so on and so forth.
back to outputs - the attribute set returned by outputs can contain many attributes. for brevity, i will only list the ones that are used by nanoc, but you can refer to here for a full list of attributes. the ones that nanoc will be using are:
packages.${system}: defines an attribute set containing all the packages this flake produces, including executables and libraries.devShell: defines an attribute set that describes the shell environment for development which can be triggered by runningnix develop.
exporting an executable
nanoc produces one output - the nanoc executable that is run to trigger codegen on nanopack schemas. to specify it manually, we would have had to repeat the definition for each packages.${system}, but thankfully nixpkgs provide a handy tool under nixpkgs.lib which is a function called genAttrs. it takes in an array of system strings, and produces a function that accepts a callback which is called on each system string and that produces an attribute set. after the callback is called on each system string, a final attribute set containing all system strings as attributes and the returned attribute set as the corresponding value. this may sound confusing, so here is what it would look like in javascript:
function genAttrs(systems) {
  return (callback) => {
    const attrs = {}
    for (const system of systems) {
      attrs[system] = callback(system)
    }
    return attrs
  }
}
the attribute set returned by genAttrs will look something like this:
{
  # the empty attribute sets below are returned by calling the callback on each system string.
  x86_64-linux: { };
  x86_64-darwin: { };
  aarch64-linux: { };
  aarch64-darwin: { };
}
i will refer to this attribute set as a system matrix.
now, let’s define the systems we support and use the genAttrs function to get a function that generates the correct system matrix set for us:
{
  outputs = { nixpkgs, ... }:
    let
      supportedSystems = [ "x86_64-linux" "x86_64-darwin" "aarch64-linux" "aarch64-darwin" ];

      forAllSystems = nixpkgs.lib.genAttrs supportedSystems;

      nixpkgsFor = forAllSystems (system: import nixpkgs { inherit system; });
    in
    { };
}
here, forAllSystems stores the function that generates a system matrix, and nixpkgsFor is a system matrix that maps a system to the correct attribute set that contains all usable packages for the system. the reason why we need to call import on nixpkgs is that nixpkgs contain an outPath attribute that import recognizes. import will then evaluates the nix file at outPath and returning the value - a function that returns an attribute set containing all nix packages in the repository. finally, the function is called by passing in the system parameter of the callback in order to obtain the correct attribute set of packages for the system.
with all that out of the way, let’s specify the nanoc executable. nixpkgs provide a function called buildGoModule for building a go module (docs here). it is built on top of mkDerivation with some go-specific options. both create the same derivation (a build task).
{
  outputs = { nixpkgs, ... }:
    let
      supportedSystems = [ "x86_64-linux" "x86_64-darwin" "aarch64-linux" "aarch64-darwin" ];

      forAllSystems = nixpkgs.lib.genAttrs supportedSystems;

      nixpkgsFor = forAllSystems (system: import nixpkgs { inherit system; });
    in
    {
      packages = forAllSystem(system:
        let
          pkgs = nixpkgsFor.${system};
        in
        {
          nanoc = pkgs.buildGoModule {
            pname = "nanoc";
            version = "0.1.0";
            src = ./.;
            vendorHash = nixpkgs.lib.fakeHash;
            buildInputs = [
              # to be filled later
            ];
          }
        }
      );
    };
}
this is a lot, so let’s break it down:
nanoc, an attribute, defines the executable that we want to export. although it doesn’t have to be namednanoc, it only makes sense to name itnanocbecause it corresponds with the name of the executable.nanocstores the value returned bypkgs.buildGoModulewhich is a derivation that describes how to build the go module.- an attribute set was passed to
pkgs.buildGoModuleto specify options for the derivation:pnameis a name for the packageversionis the version of the packagesrcis the relative path to the directory where source code lives. in nix, a path must contain at least one slash (/) to be considered one, so simply using.to denote the current directory is not sufficient, which is why./.is used instead.vendorHashis the hash of the dependencies of this go module. because we can’t know the hash when authoring the flake,nixpkgs.lib.fakeHashis used as a placeholder. the true hash can be obtained after runningnix build- it will fail because it seesfakeHash, and nix will print out the actual hash which needs to replacefakeHash.buildInputsspecifies an array of inputs that are needed at runtime. this is usually shared libraries or external executables that are executed during runtime.
specifying runtime dependencies
nanoc has these dependencies:
- clang-format, to format generated c++ code.
- biome, to format generated typescript code.
- swift-format, to format generated swift code.
luckily, they are all packaged as nix packages, so using them is as simple as:
buildInputs = [
  pkgs.clang-tools
  pkgs.biome
  pkgs.swift-format
]
now, they will be automatically included in PATH when nanoc is run. the final outputs looks like this:
{
  outputs = { nixpkgs, ... }:
    let
      supportedSystems = [ "x86_64-linux" "x86_64-darwin" "aarch64-linux" "aarch64-darwin" ];

      forAllSystems = nixpkgs.lib.genAttrs supportedSystems;

      nixpkgsFor = forAllSystems (system: import nixpkgs { inherit system; });
    in
    {
      packages = forAllSystem(system:
        let
          pkgs = nixpkgsFor.${system};
        in
        {
          nanoc = pkgs.buildGoModule {
            pname = "nanoc";
            version = "0.1.0";
            src = ./.;
            vendorHash = nixpkgs.lib.fakeHash;
            buildInputs = [
              pkgs.clang-tools
              pkgs.biome
              pkgs.swift-format
            ];
          }
        }
      );
    };
}
declaring a development shell environment
this is my favorite feature about nix - being able to define and use development environments that are isolated from other projects. no longer is my global shell littered with unrelated tools that might conflict with each other!
a development shell environment is defined similarly to packages, but instead of buildGoModule, nixpkgs provide a function called mkShell that is used to create a derivation for a shell environment. before we dive into the code, let’s have a look at what we need inside the development shell:
- go obviously.
- go tools, which contains various tools that aid in go development.
- all the
buildInputsof nanoc because we will be runningnanocinside the shell, which means we will need the runtime dependencies ofnanocin the shell. - cmake, to build the c++ examples (this will change soon as i will migrate away from cmake to build scripts.)
luckily for us, all of the above are available as nix packages under nixpkgs!
on to the code:
{
  outputs = { nixpkgs, ... }:
    let
      supportedSystems = [ "x86_64-linux" "x86_64-darwin" "aarch64-linux" "aarch64-darwin" ];

      forAllSystems = nixpkgs.lib.genAttrs supportedSystems;

      nixpkgsFor = forAllSystems (system: import nixpkgs { inherit system; });
    in
    {
      # ...

      devShells = forAllSystems(system:
        let
          pkgs = nixpkgsFor.${system}
        in
        {
          default = pkgs.mkShell {
            packages = [
              pkgs.go
              pkgs.gotools
              # nanoc requires clang-format in clang-tools
              pkgs.clang-tools
              # nanoc uses biome to format typescript code
              pkgs.biome
              # nanoc uses swift-format to format swift code
              pkgs.swift-format
              # used to build c++ examples
              pkgs.cmake
            ]
          };
        };
      );
    };
}
instead of giving the shell a name, the shell derivation is defined under the special default attribute. the default shell is the shell that will be activated when running nix develop without specifying a name. we only need one development shell, so we can use it as the default one. if you use a different attribute name, you can activate the shell by running nix develop .#{name}, where {name} is the attribute name.
notice that we have specified all the tools we need in the shell as an array stored under the packages attribute. now, when we run nix develop inside our project, nix will create and activate a shell that contains all the tools that we have specified.
using the flake
we have successfully packaged nanoc as a nix flake. if you wish to see the full flake file, head over here.
since nanoc is now a flake, we can use it in another flake as an input:
{
description: "a flake that uses nanoc";
inputs = {
nanoc.url = "github:nanopack-buffer/nanoc/main";
};
outputs = { nanoc, ... }: {
let
supportedSystems = [ "x86_64-linux" "x86_64-darwin" "aarch64-linux" "aarch64-darwin" ];
forAllSystems = nixpkgs.lib.genAttrs supportedSystems;
nixpkgsFor = forAllSystems (system: import nixpkgs { inherit system; });
in
{
packages = forAllSystems(system:
let
pkgs = nixpkgsFor.${system}
in
{
myPkg = pkgs.mkDerivation {
# ...
buildInputs = [
# notice how this corresponds to the structure of the attribute set
# defined in the flake file of nanoc!
nanoc.packages.${system}.nanoc
];
# ...
};
};
);
};
};
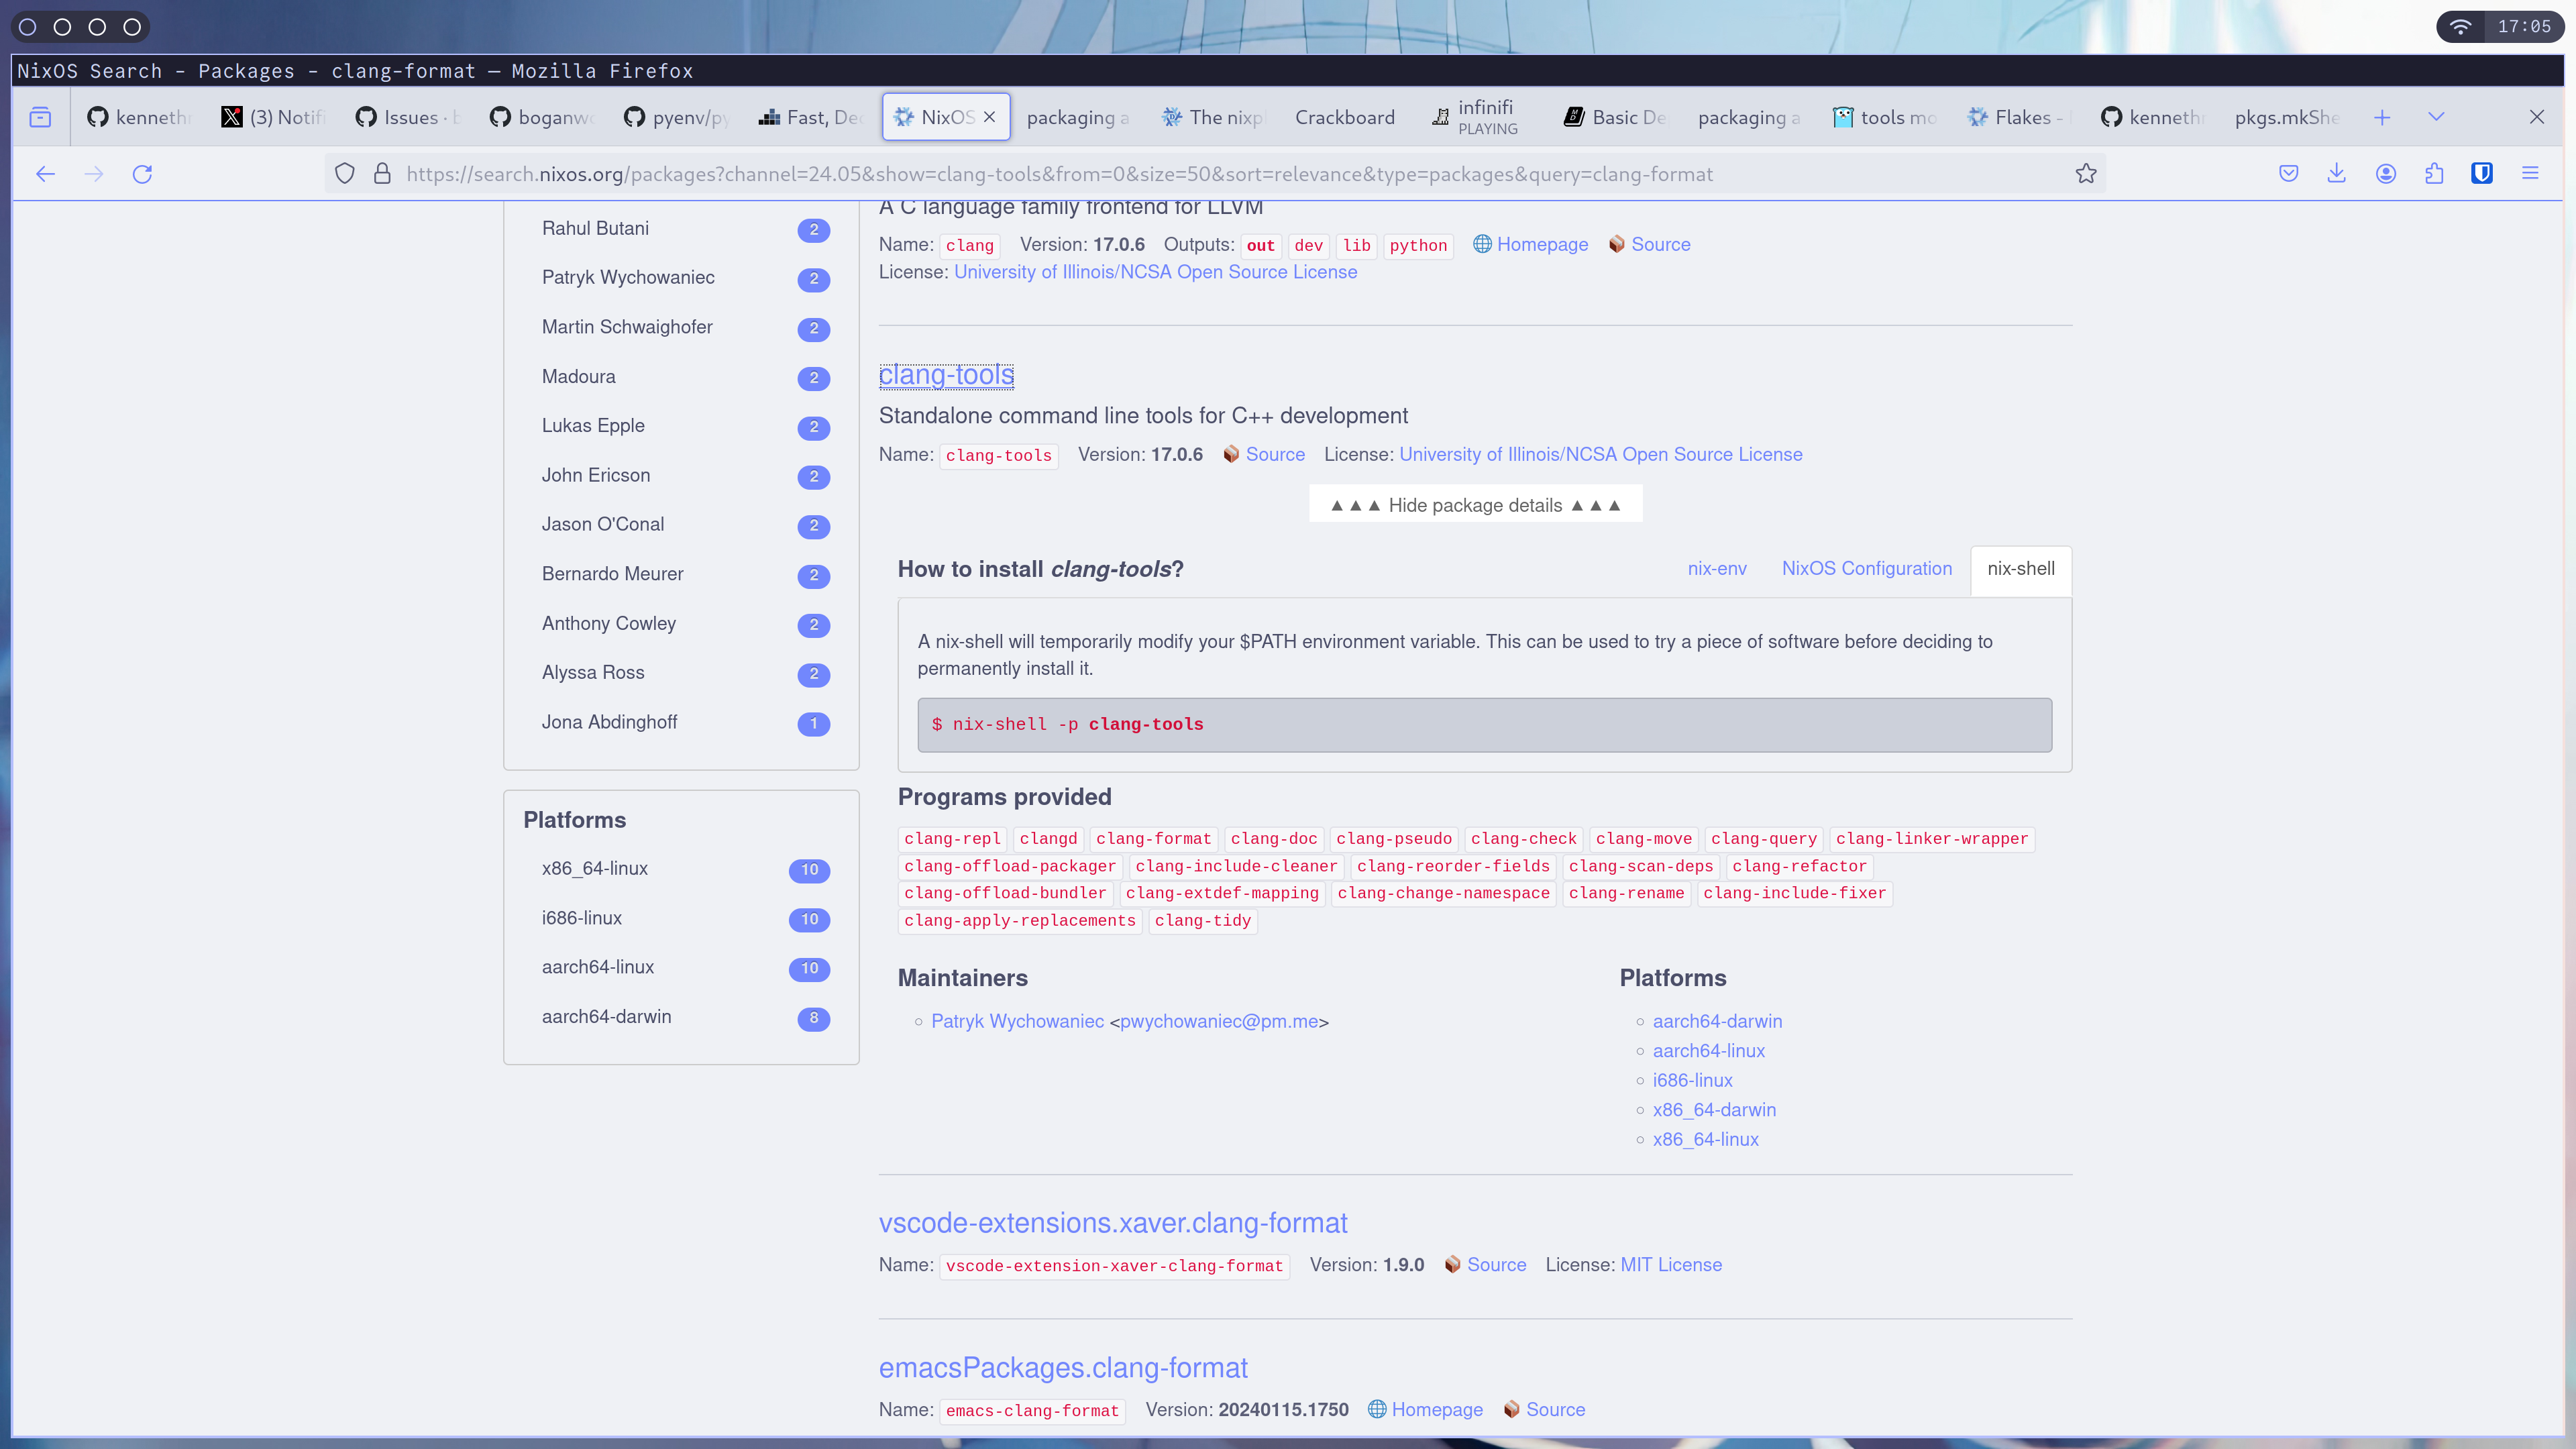
}searching through the nixpkgs repository
you can check whether a nix package is available by going to nixos’s official search page. for example, you can verify that clang-format is provided under the clang-tools package: