my neovim setup
i used to be an avid intellij user, until @juweeism came in with this tweet:
pivot to vim tonite king?
— juwee (@juweeism) March 16, 2024
as an easily manipulated inidividual, this was enough to convince me to end my 7-year relationship with intellij ides and begin a brand new chaper in a brand new coding environment. little did i know this switch would be a permanent one.
this poast documents all the plugins and keybinds that i have installed and actively use.
screenshots
the preview shows a zoomed-in ui for legibility. click on an image to see the ui in its original scale!
color theme
i use catppuccin for everything, including my neovim, my terminal, and even this website!
package manager
i use lazy.nvim as my package manager of choice. one thing i like about lazy is that it comes with a ui for managing and updating plugins:
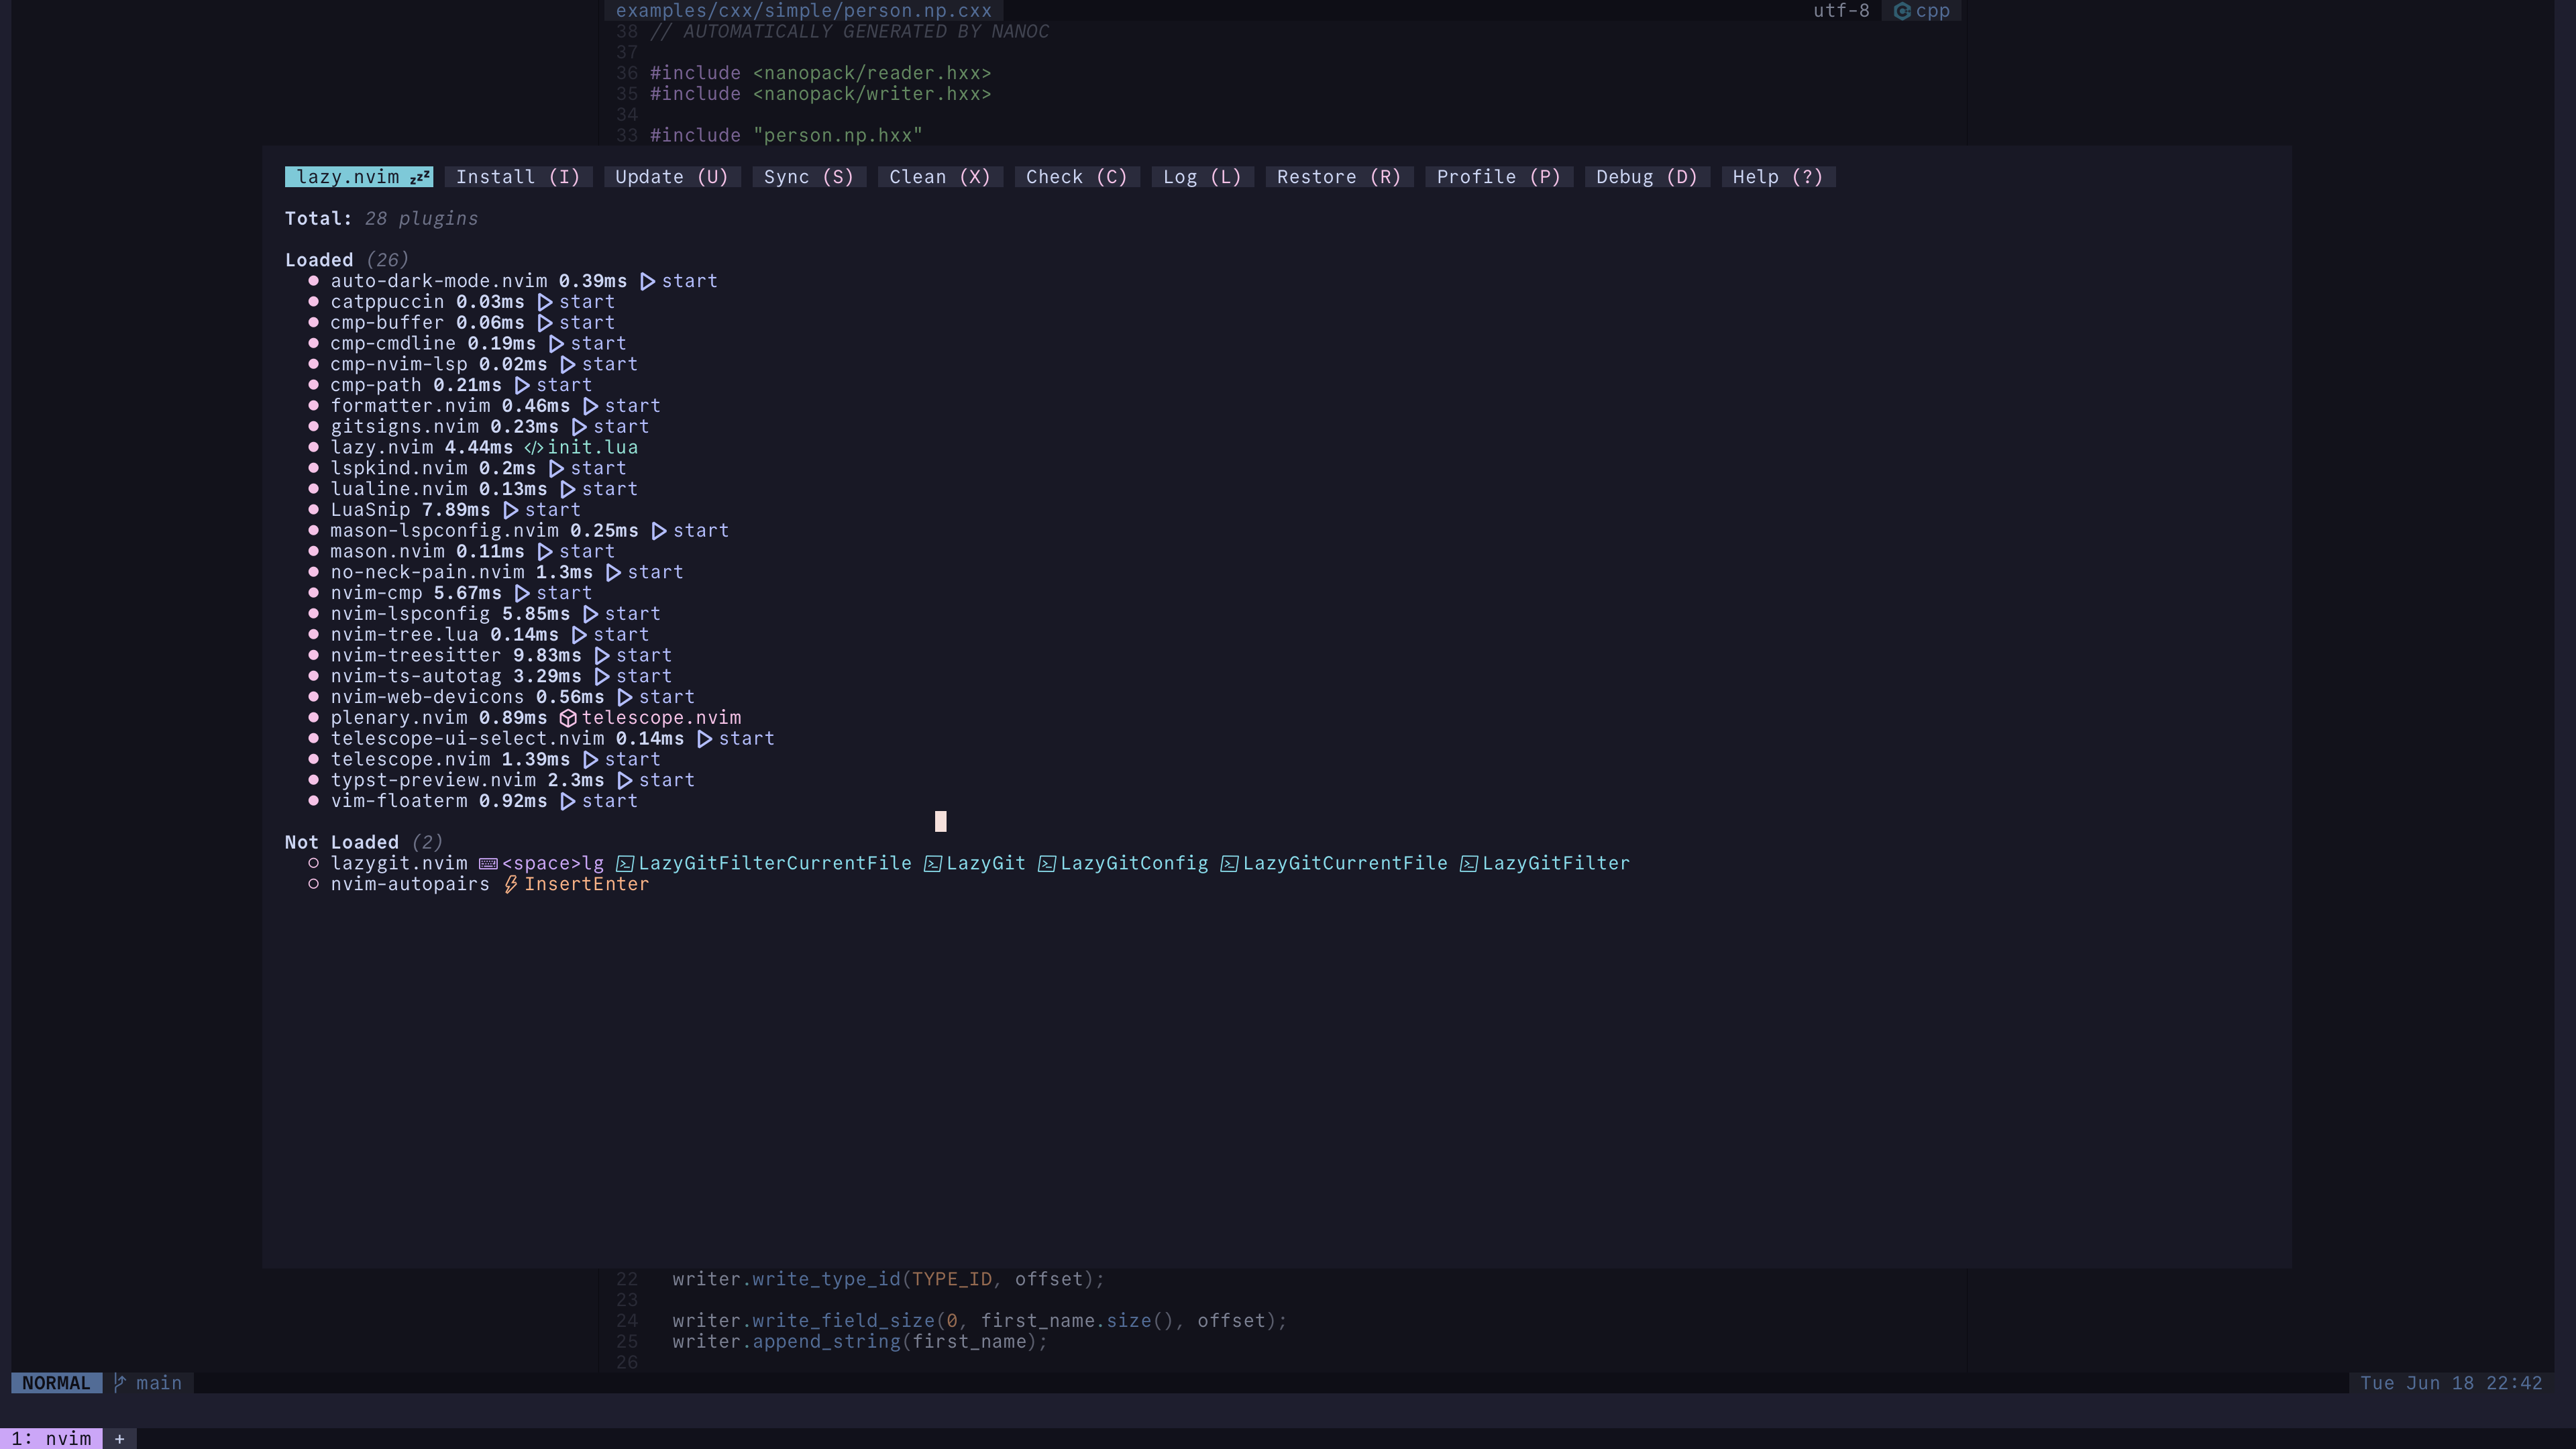
to update plugins, i simply press shift+u, and lazy will automatically update plugins and list all breaking changes after the update is complete. very handy!
centered buffer
in (neo)vim, buffers are left aligned. when there is only one buffer opened, text starts from the very left edge of the window. if the window is maximized, the text will begin from the very left edge of my monitor, which makes it hard to read! thankfully, no-neck-pain is a plugin that centers the active buffer by placing two equally-sized buffers on both sides of the active buffer.
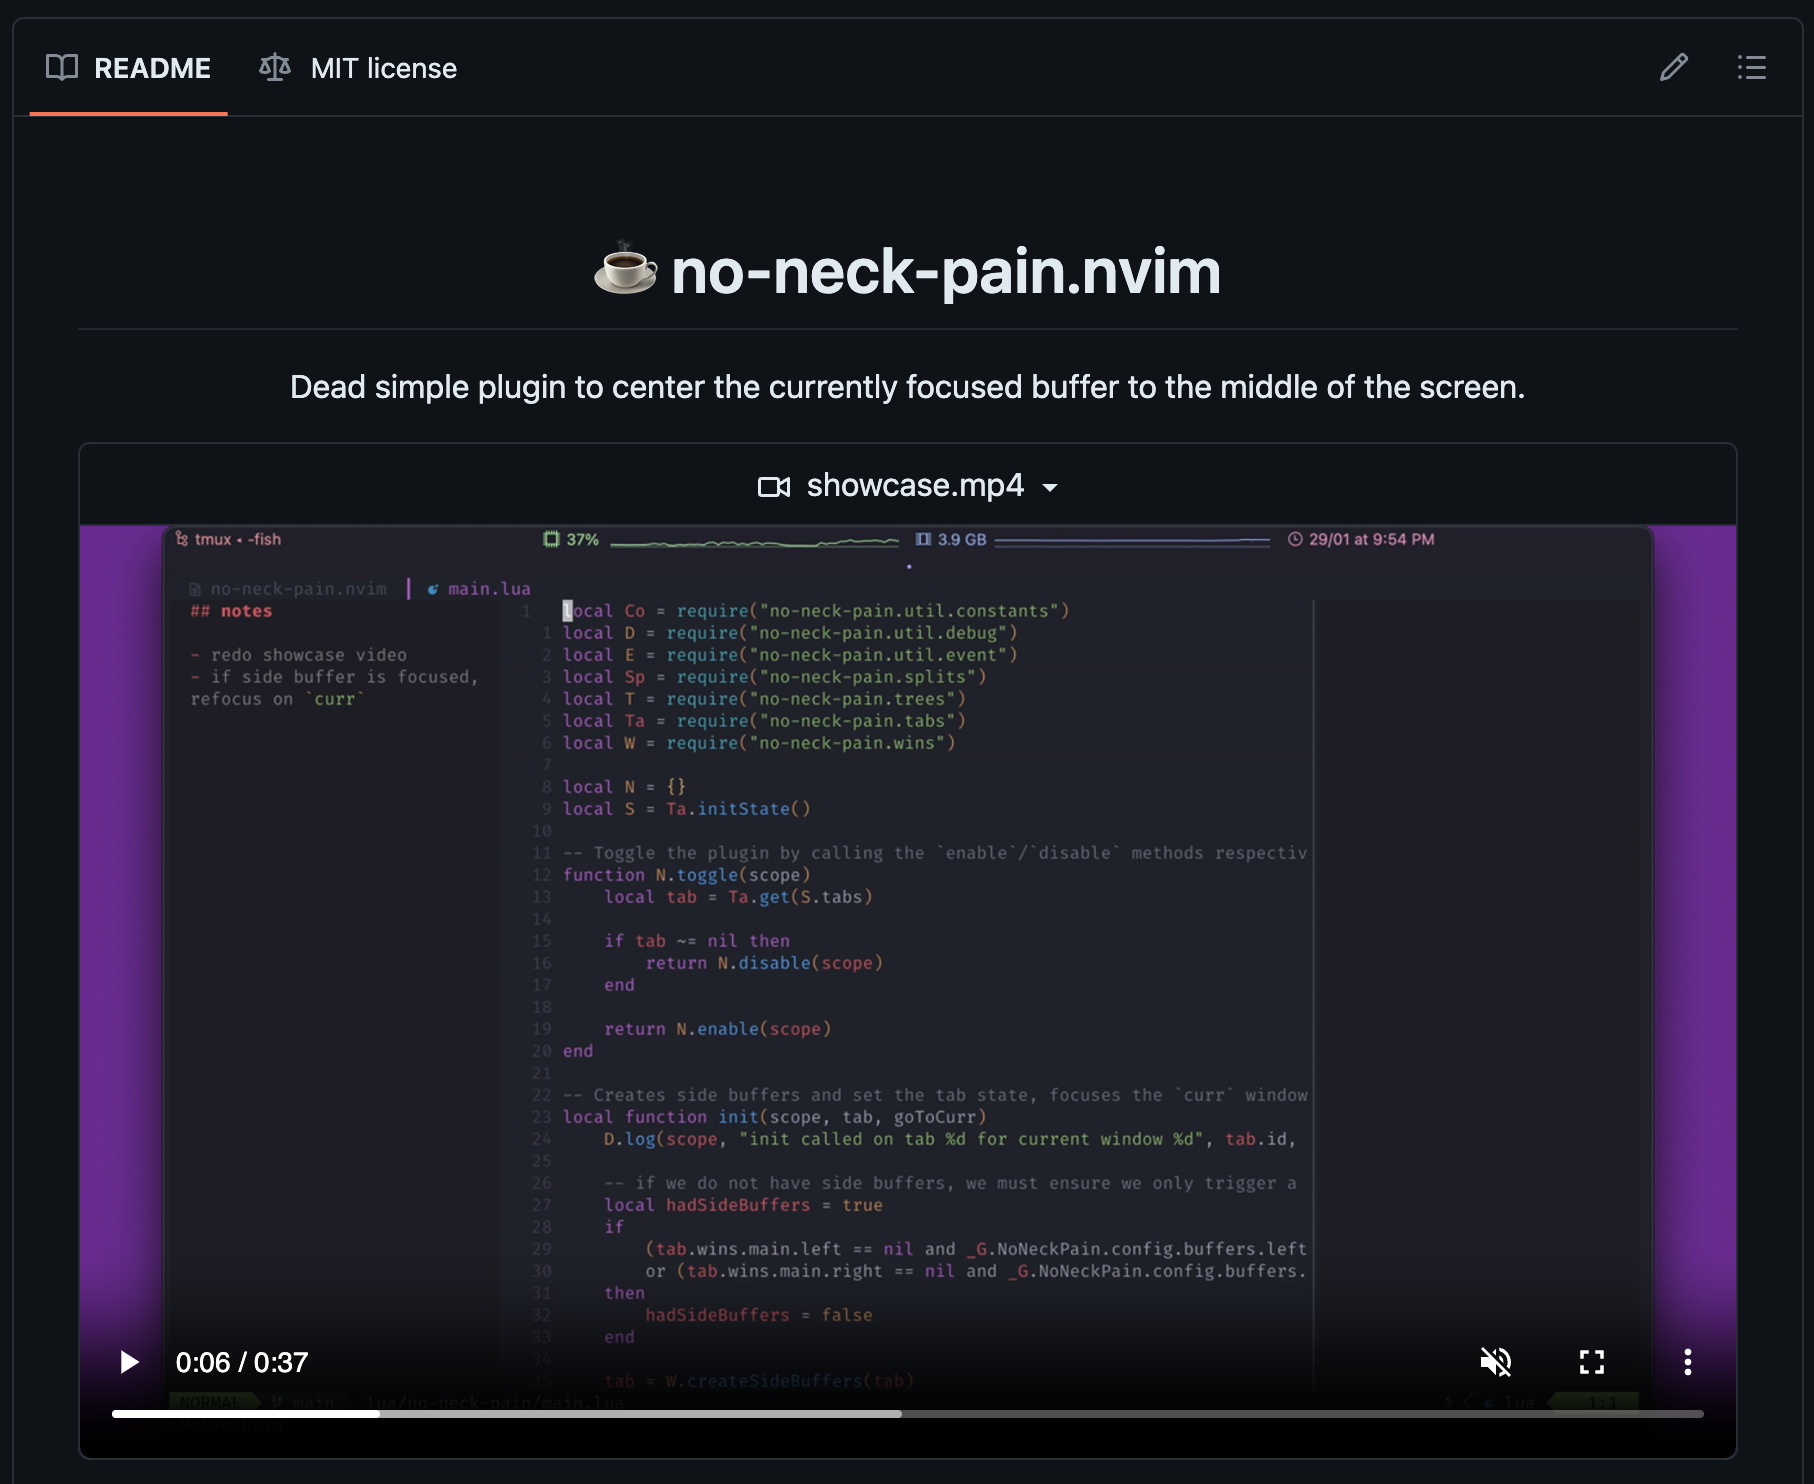
now, not only is the buffer directly in my line of sight, i now also get two empty buffers that i can use as scratch pads.
no-neck-pain is also smart enough to detect splits, which means splits will work as normal. when i trigger a vertical split by pressing <C-w><C-v> for example, the two empty buffers go away, and i will be presented with two equally split buffers. once i close either buffer, the remaining buffer will be centered again.
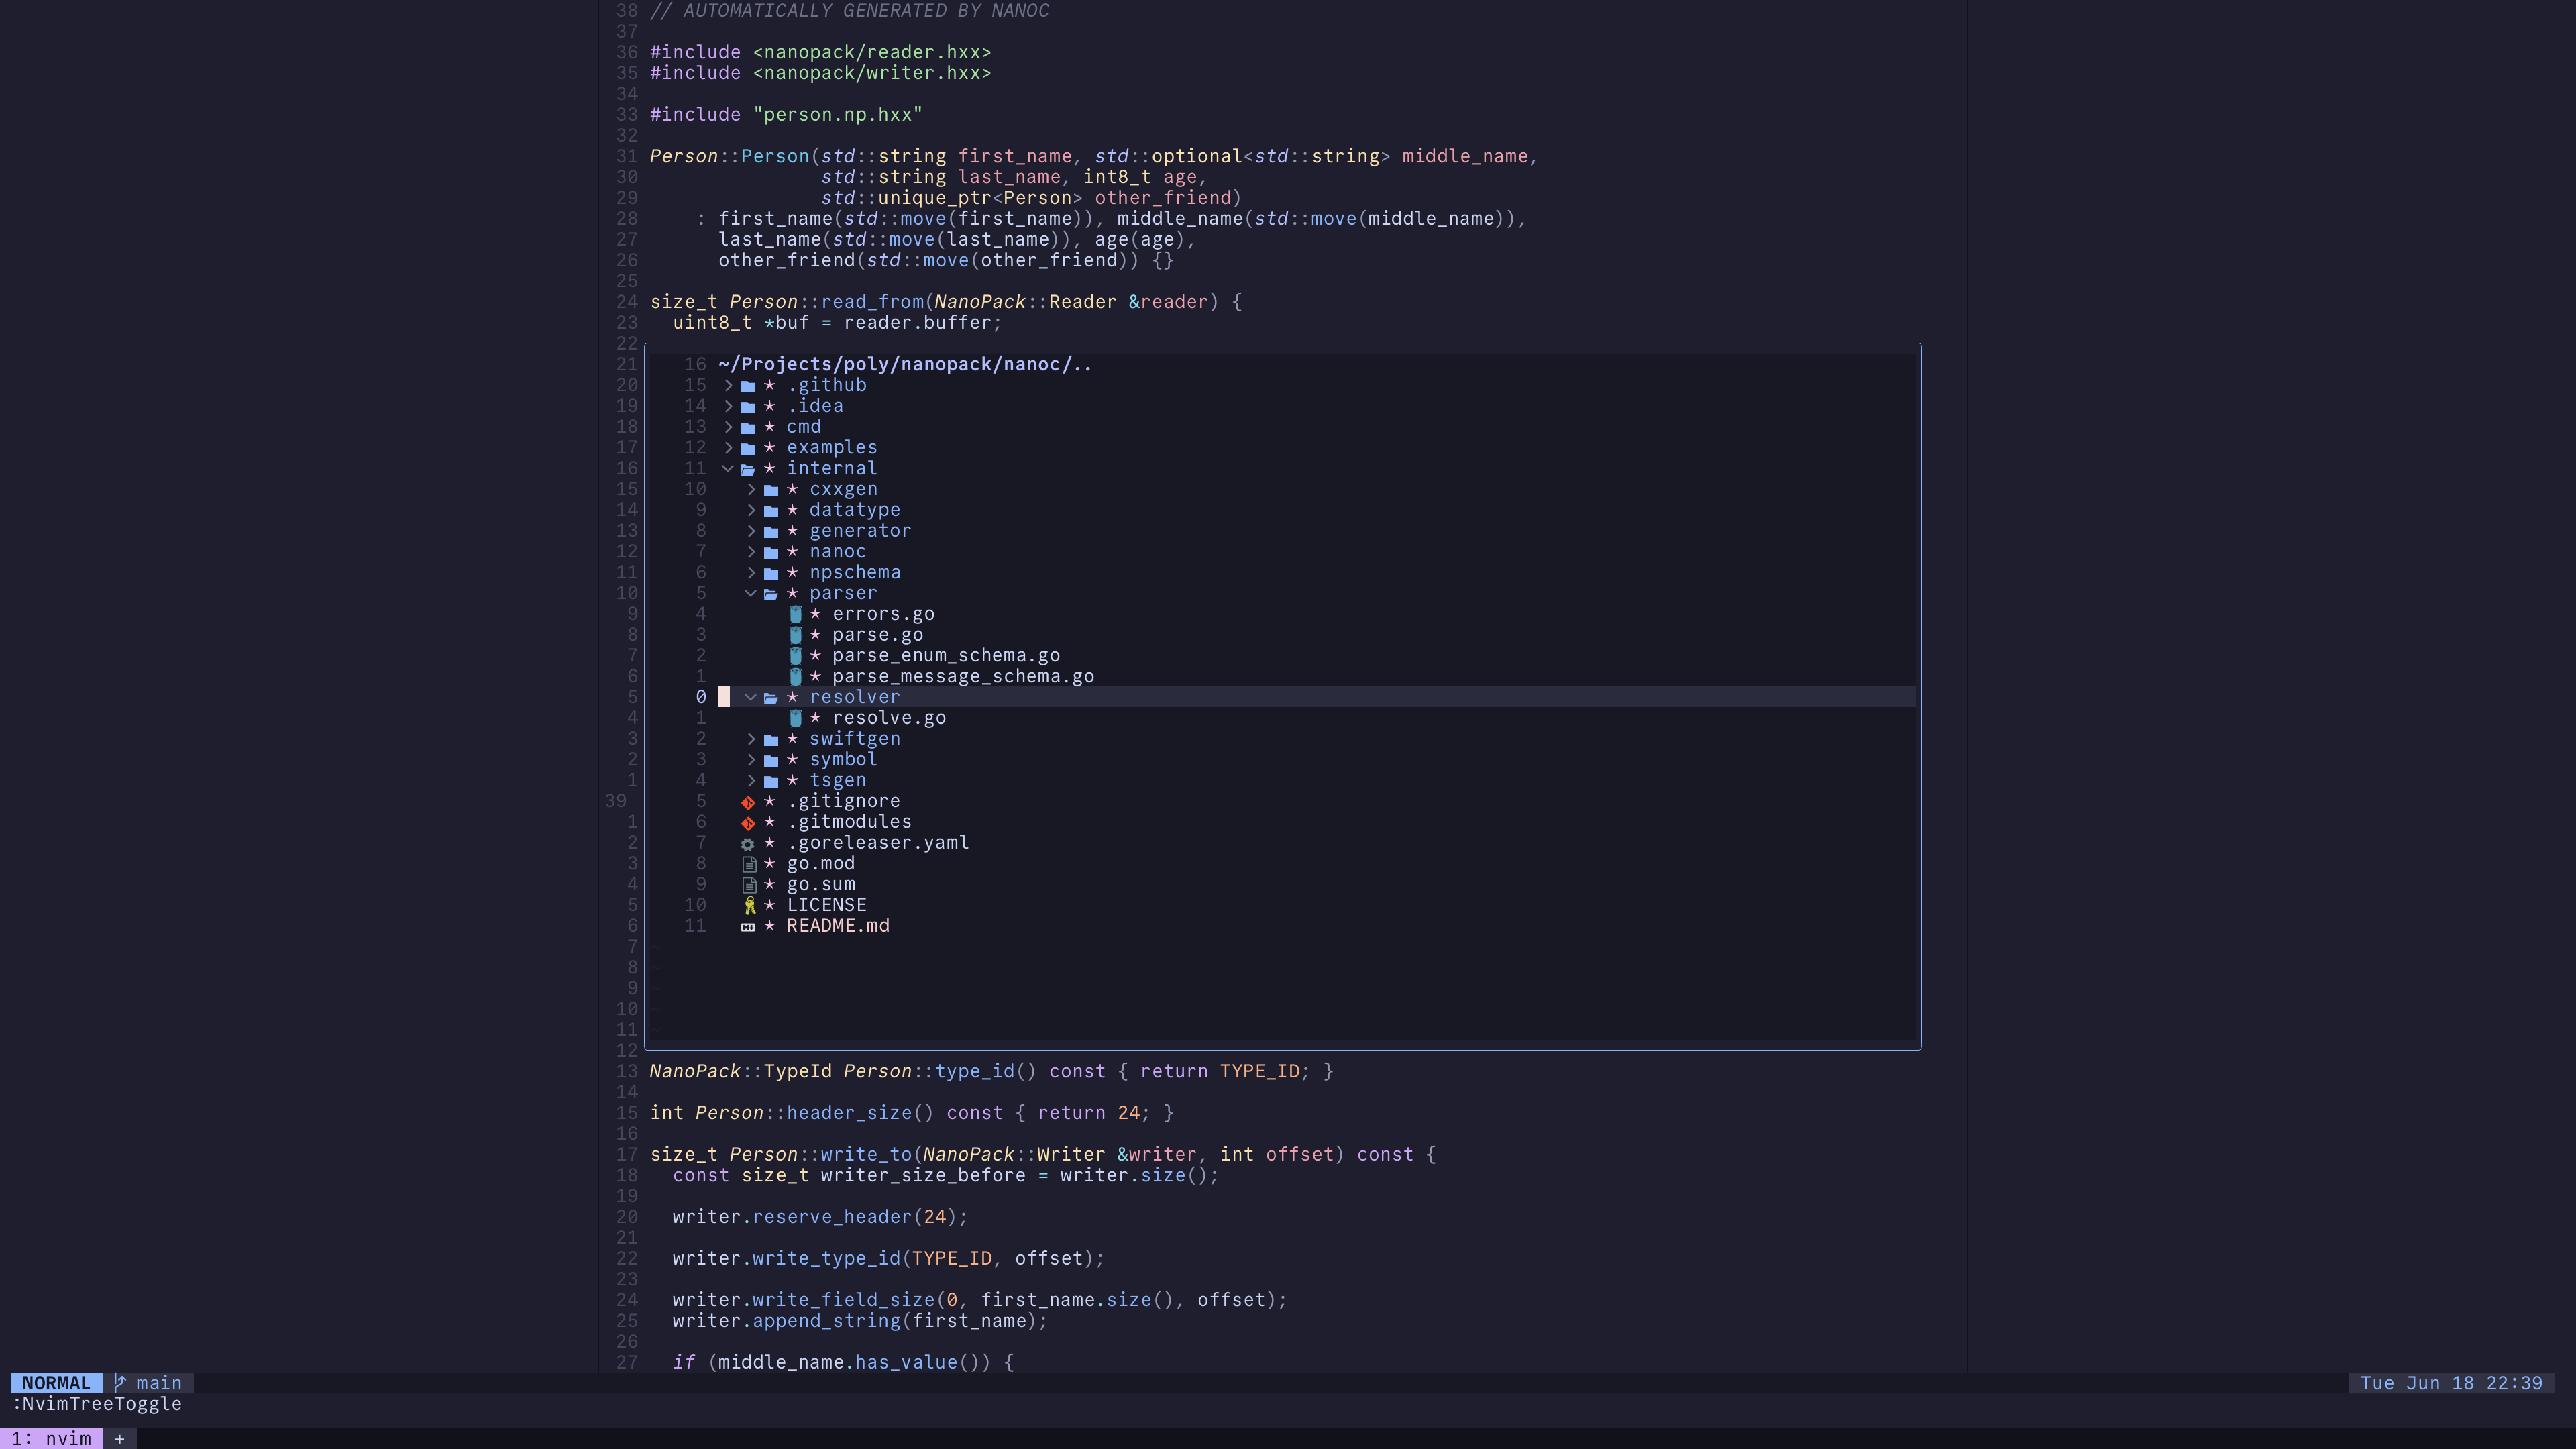
file tree
most editors and neovim setups out there have a file tree that is always visible to the left of the current buffer. however, in my experience, i rarely need to look at the file tree, so having it constantly visible becomes a distraction. nvim-tree is a file tree written in lua that supports floating mode.
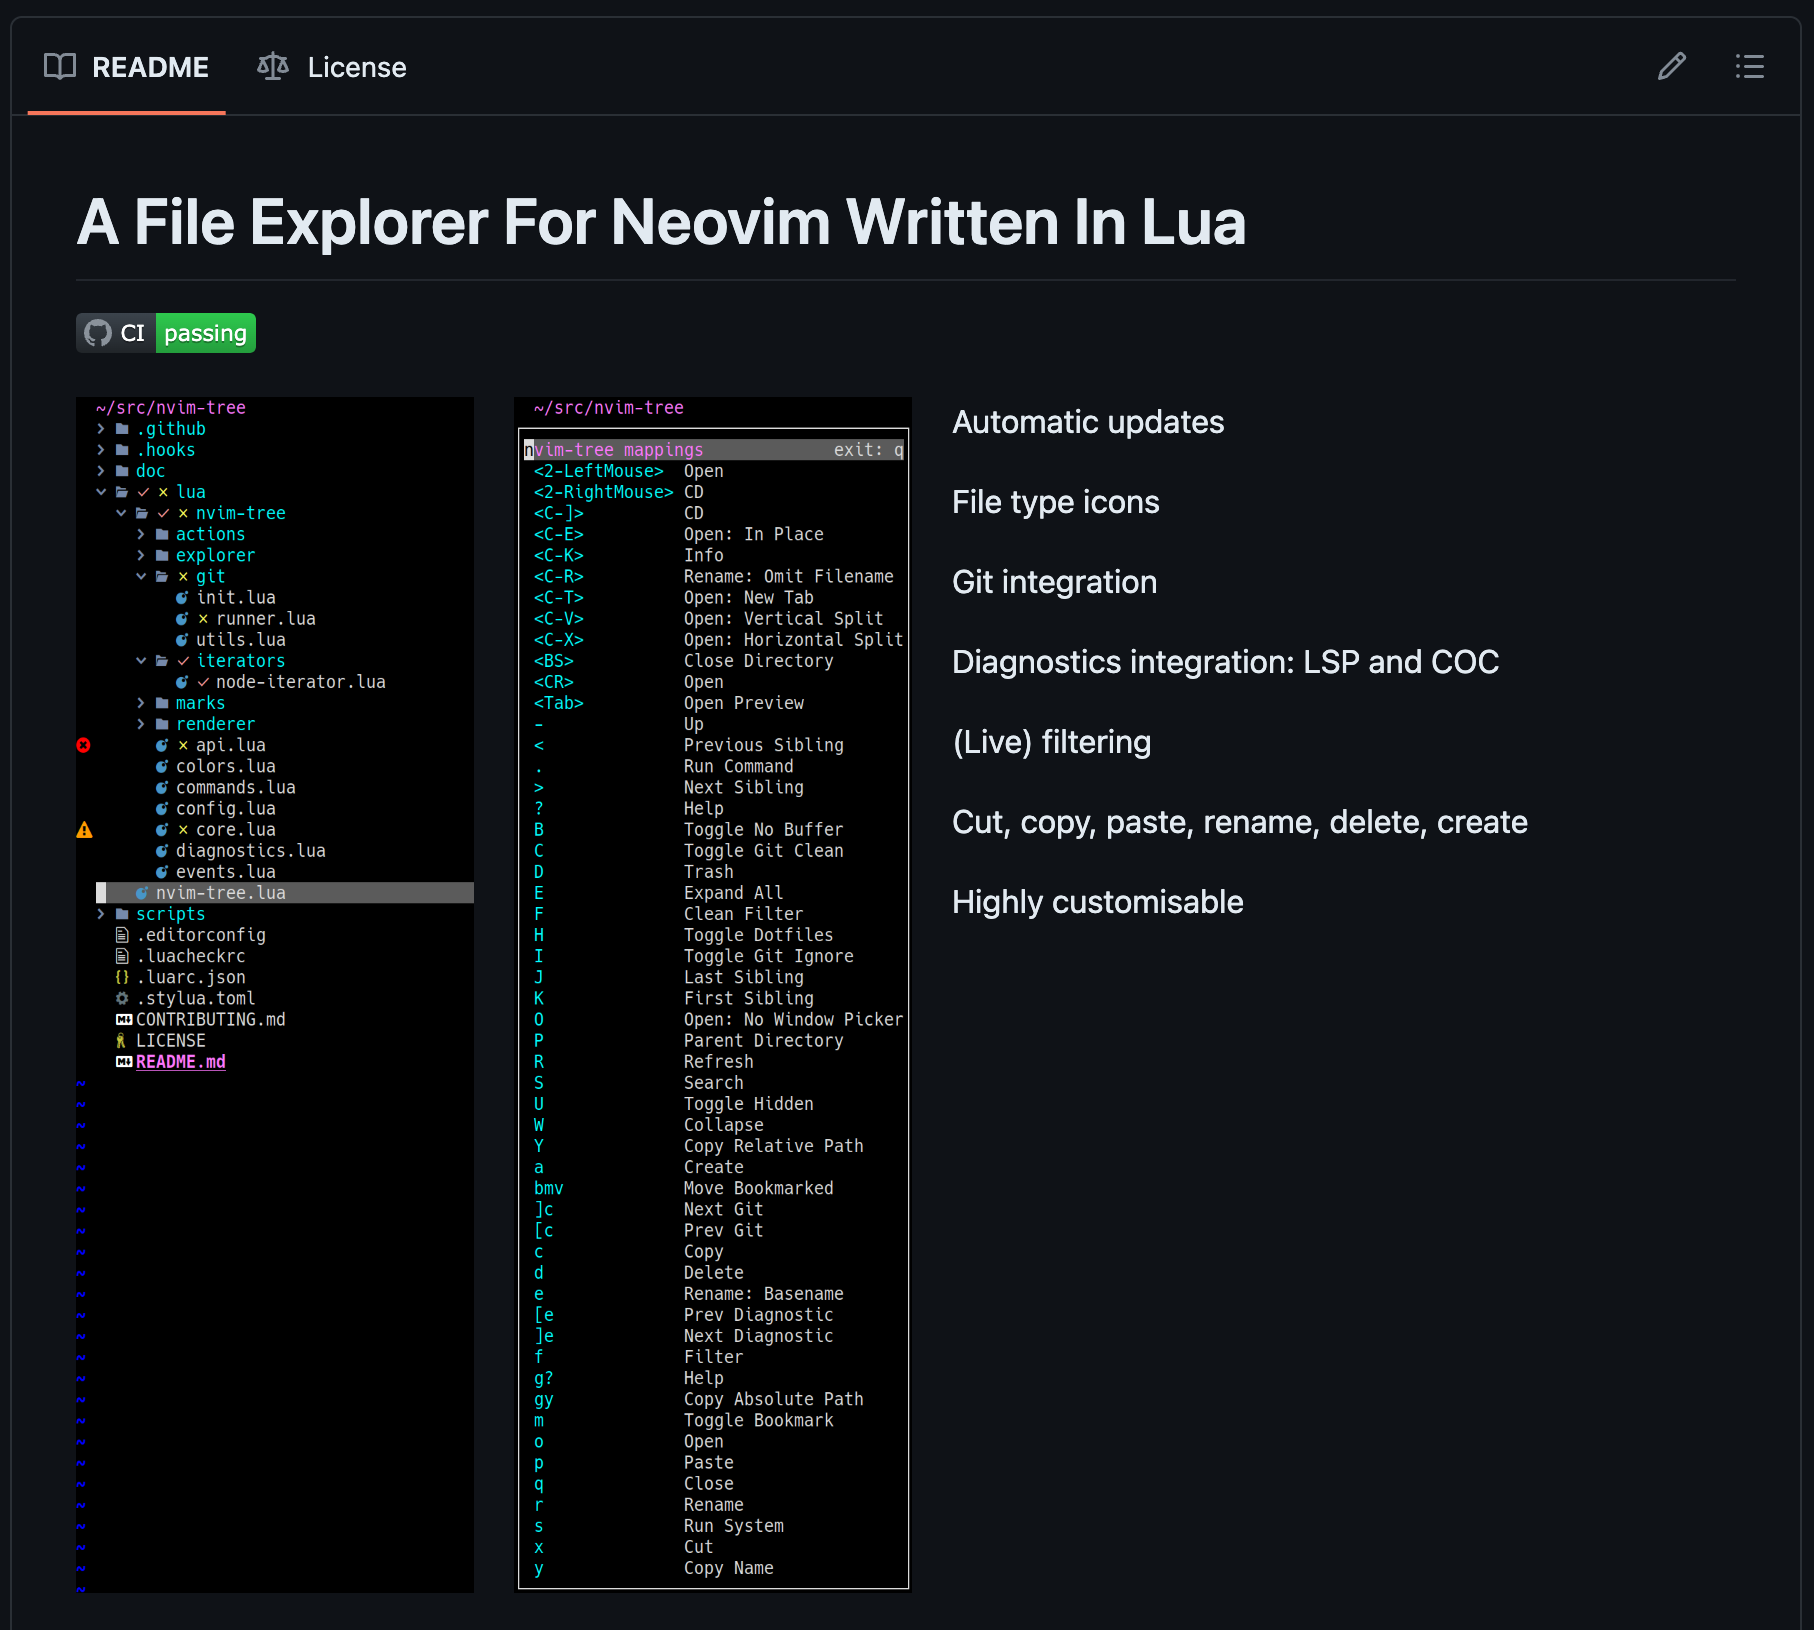
in floating mode, the file tree is presented in a floating window instead of inside an always visible buffer. by default, it appears at the top left hand corner of the window, which is not very readable, so i found a piece of code online that centers the window. unfortunately, i was not able to trace back the source of the code.
nvim-tree also supports file manipulation, such as creating files or directories. it allows me to create files by typing in the full path of where it should be, and it will creating all the necessary directories for me. very handy!
with this setup, all that is visible at all time is the currently active buffer(s) and statuslines, and nothing else.
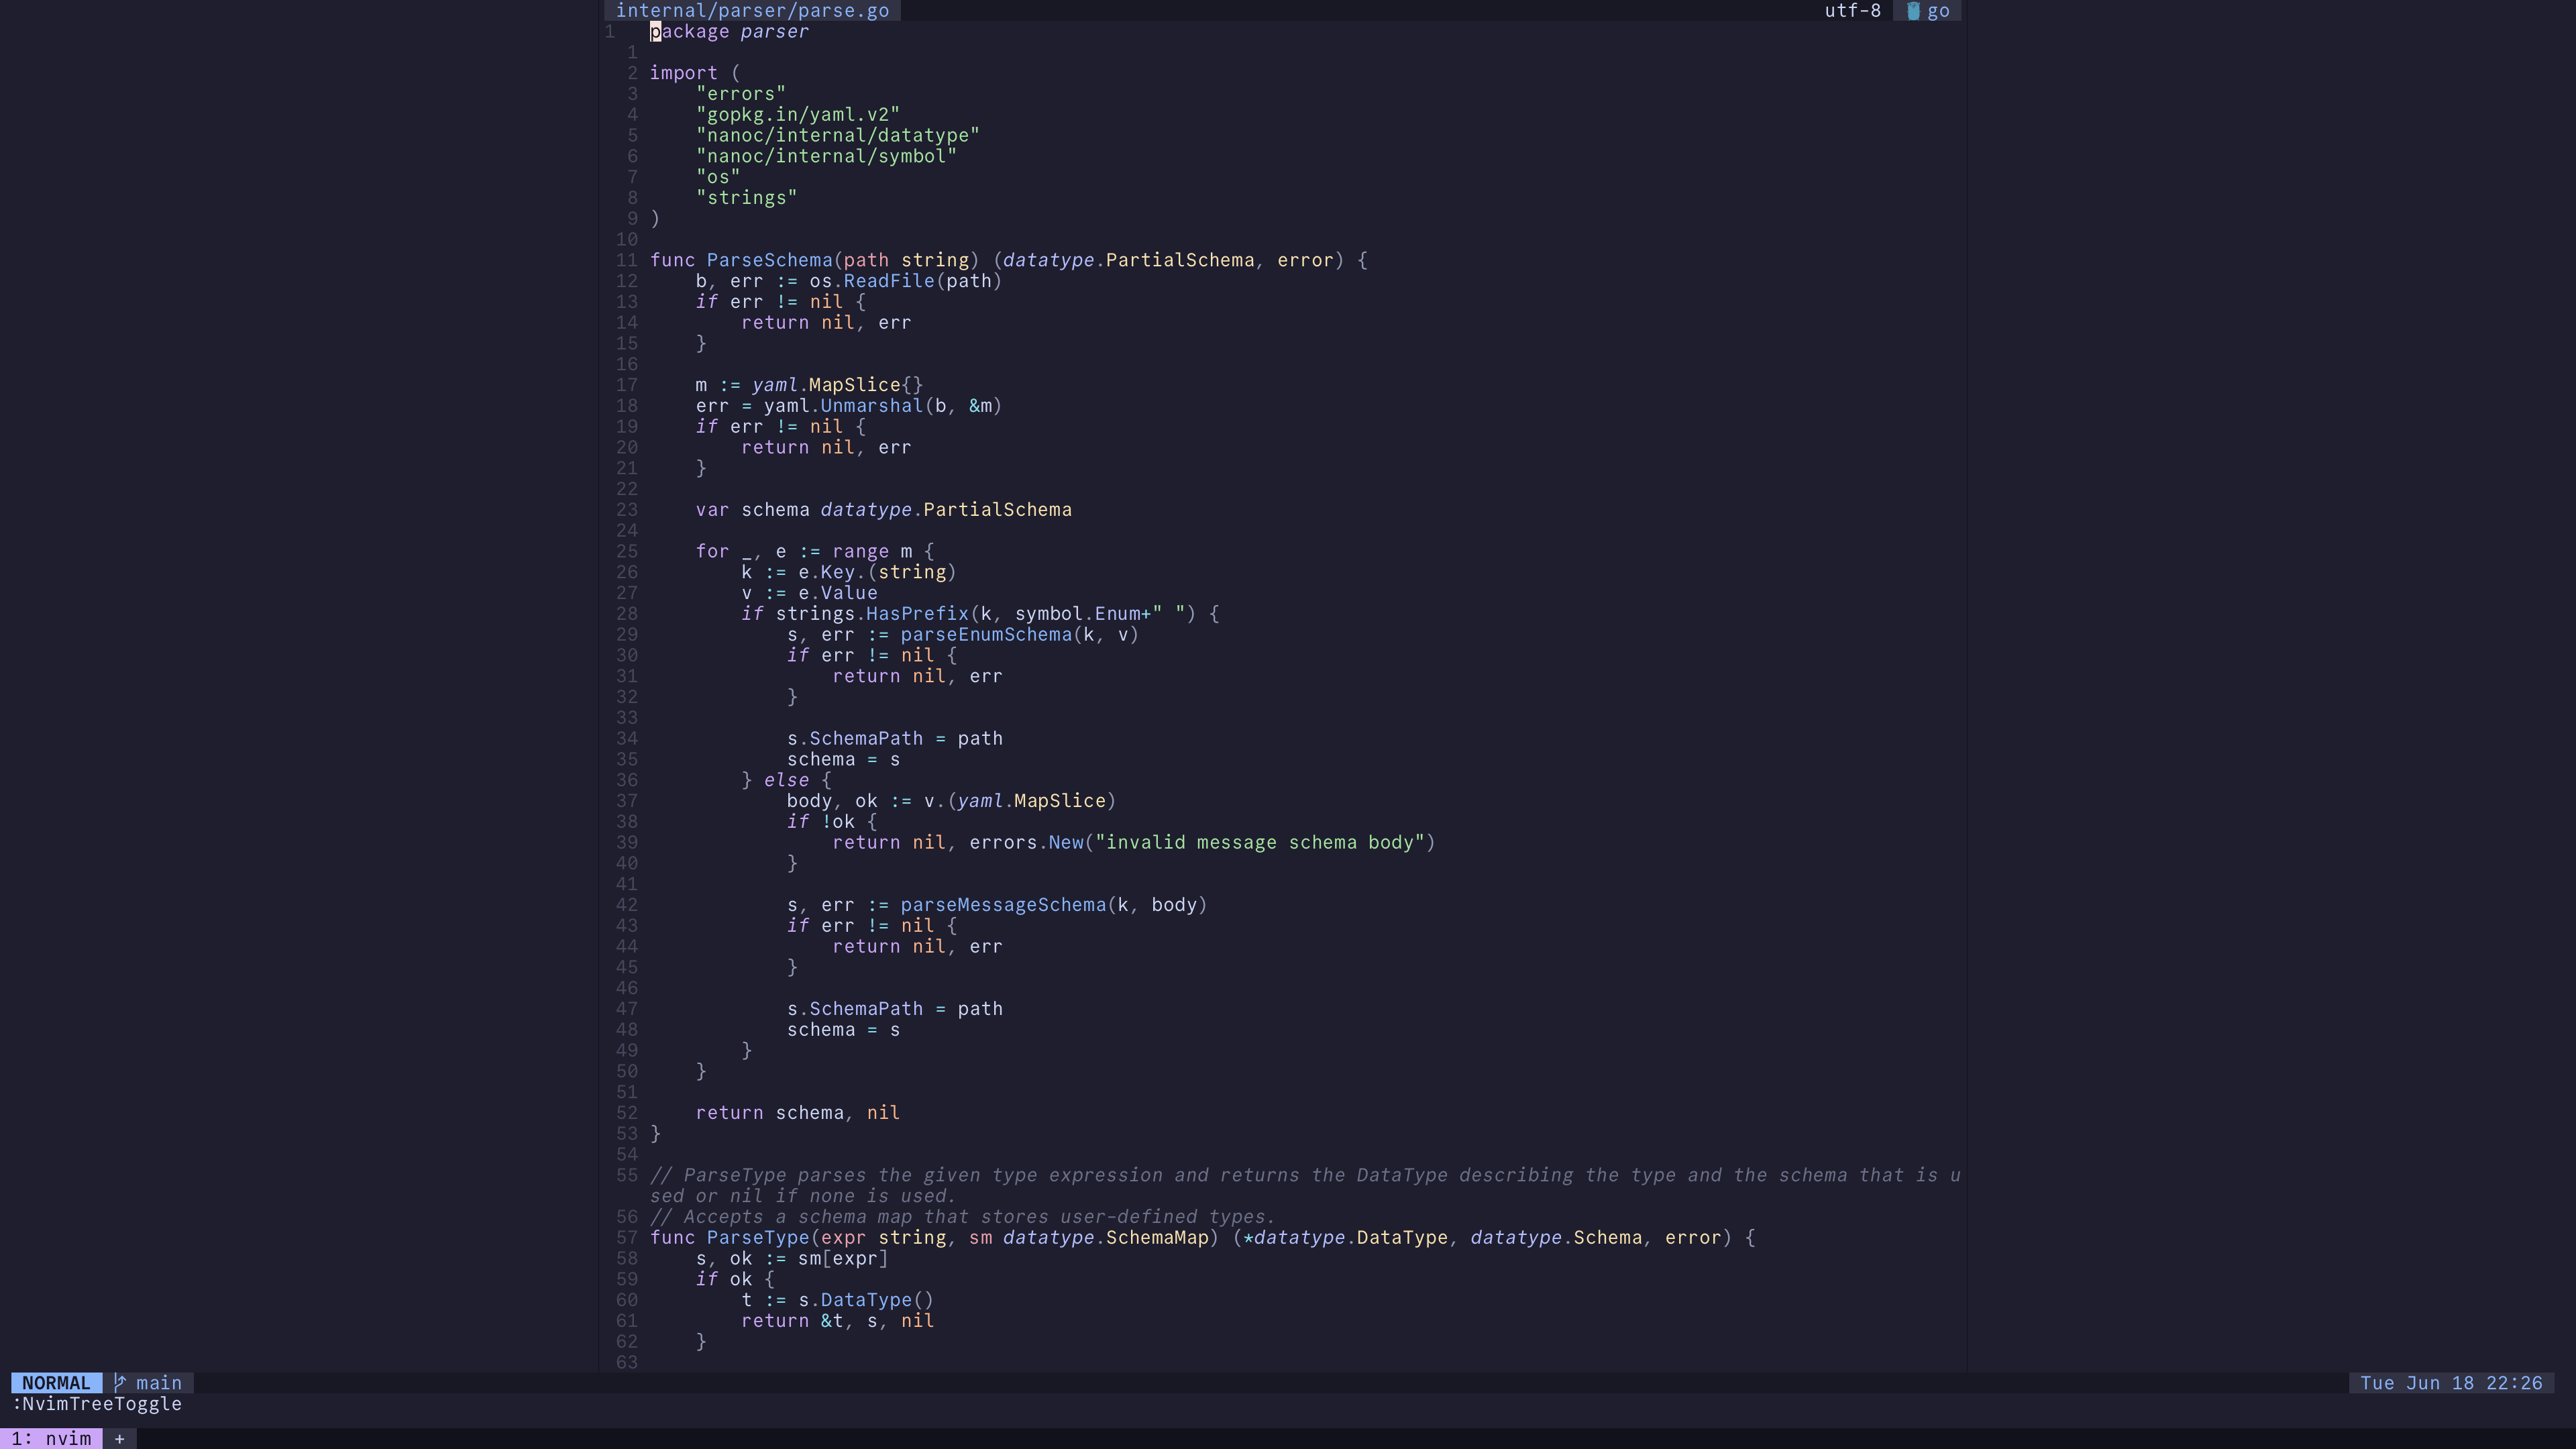
status line
this brings us to statusline. i use LuaLine as my statusline plugin of choice.
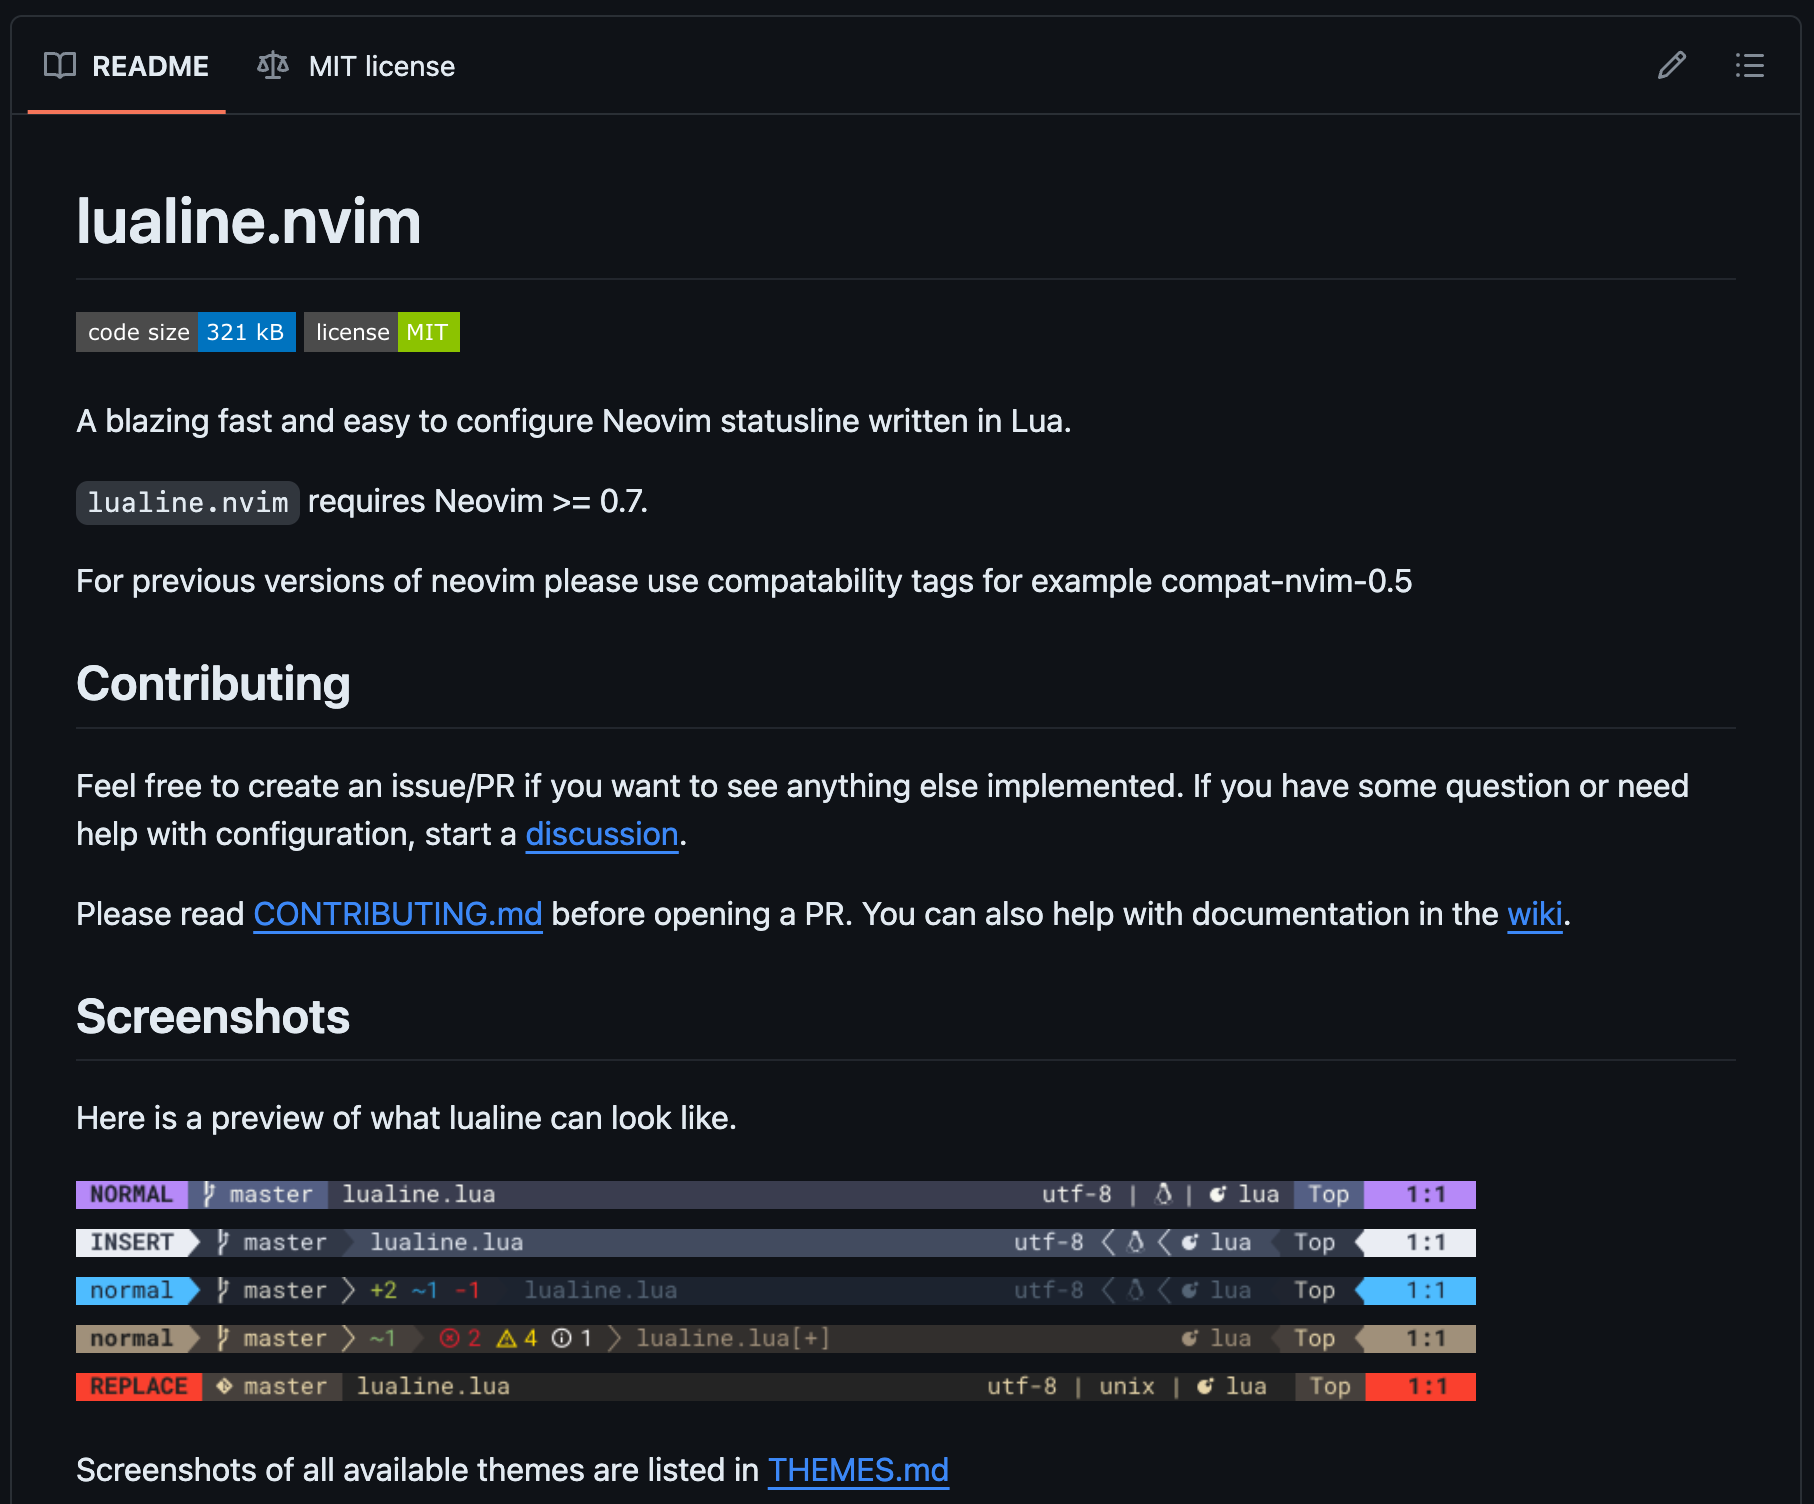
by default, the statusline displays the current mode, the active branch, as well as the name of the file opened in the current buffer and its type. i find that having the global statusline display “local” information about a buffer unintuitive, and i’d much rather have a separate line that is attached to the active buffer. LuaLine enables this via the winbar config, which is a statusline bar at the top of the buffer. i configured it so that only the winbar of the active buffer is visible. this lets me know which buffer i am editing, as well as reduce visual clutter.
now, the global statusline, which always sits at the bottom no matter which buffer i am editing, displays the following:
- the current vim mode;
- the active git branch; and
- the current date and time, which is particularly useful because i use my neovim in fullscreen which hides the system clock.
the winbar, attached to a buffer at the top, displays:
- the relative path of the opened file;
- the encoding of the file;
- the search count if a search is active;
- any lsp diagnostics; and
- the file type.
lsp
although neovim has an lsp client built-in, i use mason to manage all my lsps, formatters and linters. it also manages daps (debugger adapter protocol) as well, but in the rare cases that i need a debugger, i still rely on intellij ides, which is why i haven’t set up debugging in neovim.
the best thing about mason is that, like lazy, it comes with a ui for managing your lsps and others:
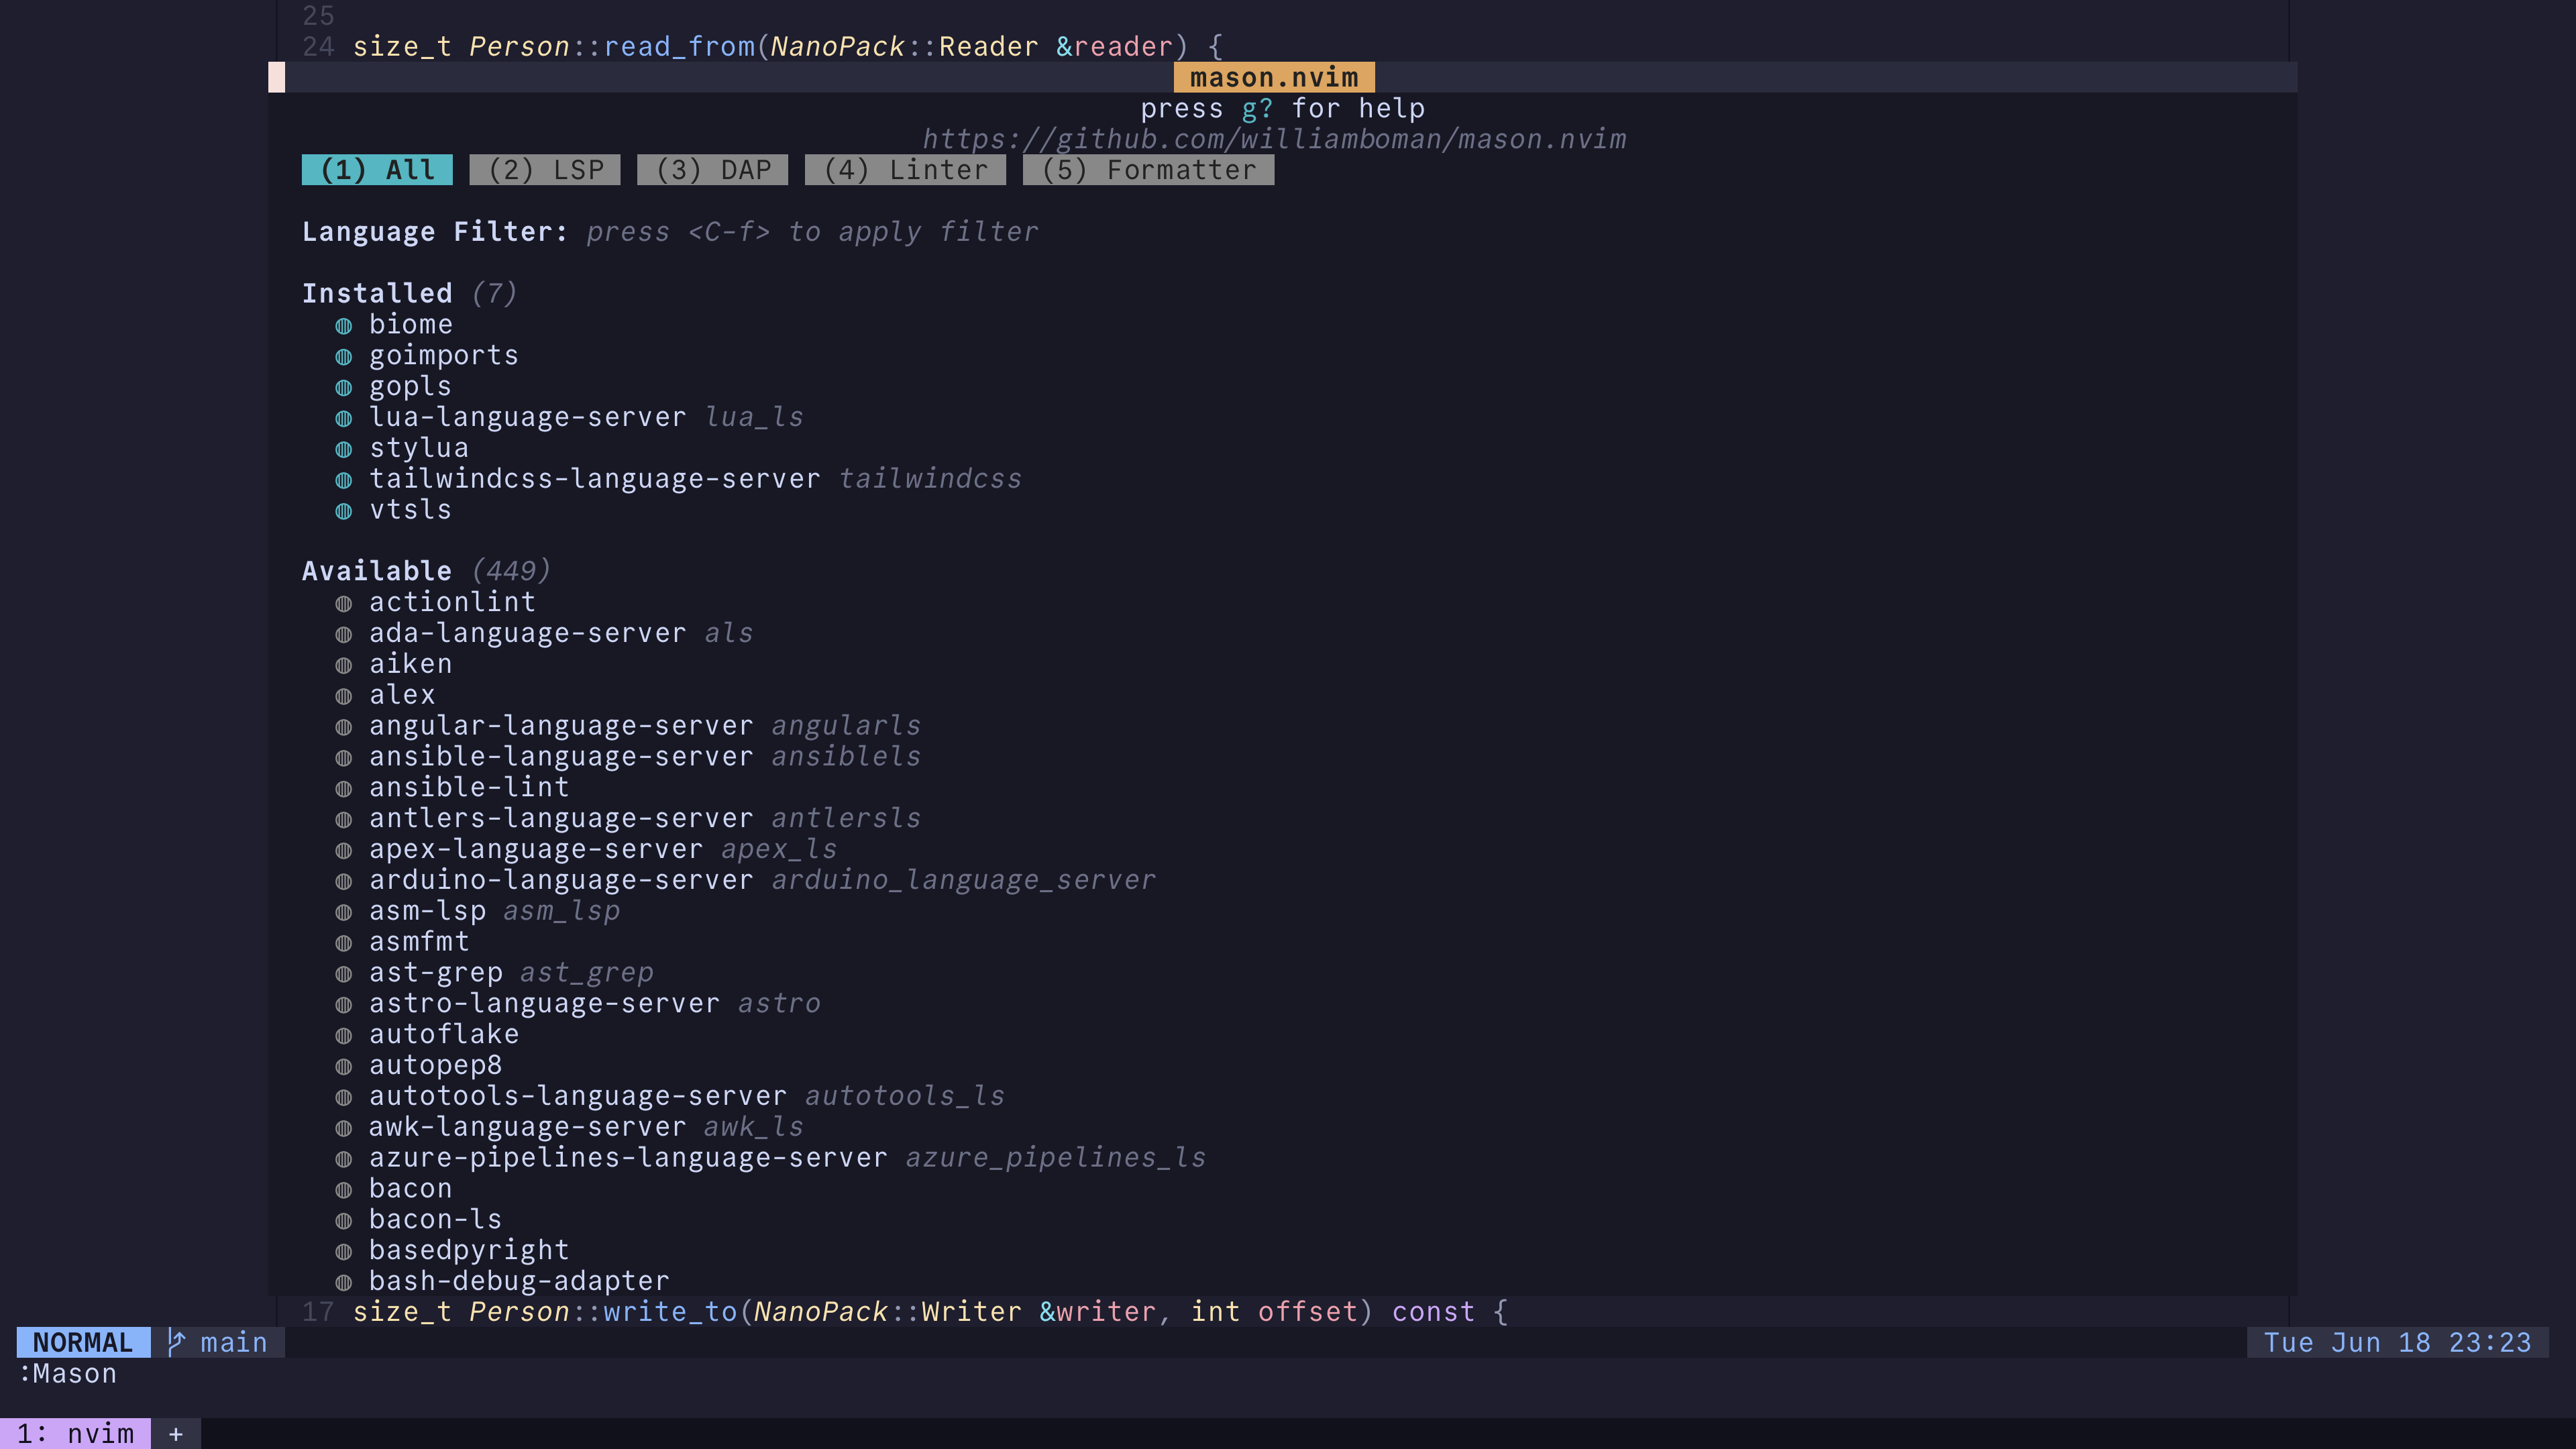
to install a component, all i have to do is press / to search for it, and then type:
:MasonInstall <component-name>to install the component. for example, if i want to install gopls, go’s lsp, i can type:
:MasonInstall goplsand it will be installed for you. one crucial plugin that acts as a glue between mason and neovim’s built-in lsp client is mason-lspconfig, which makes mason-managed components work with neovim.
autocomplete
for me, an editor needs to have autocompletion feature, as i am lazy and can’t type very fast (i.e. skill issue.) for this, i use nvim-cmp. it is heavily customizable, which allowed me to make it look really nice:
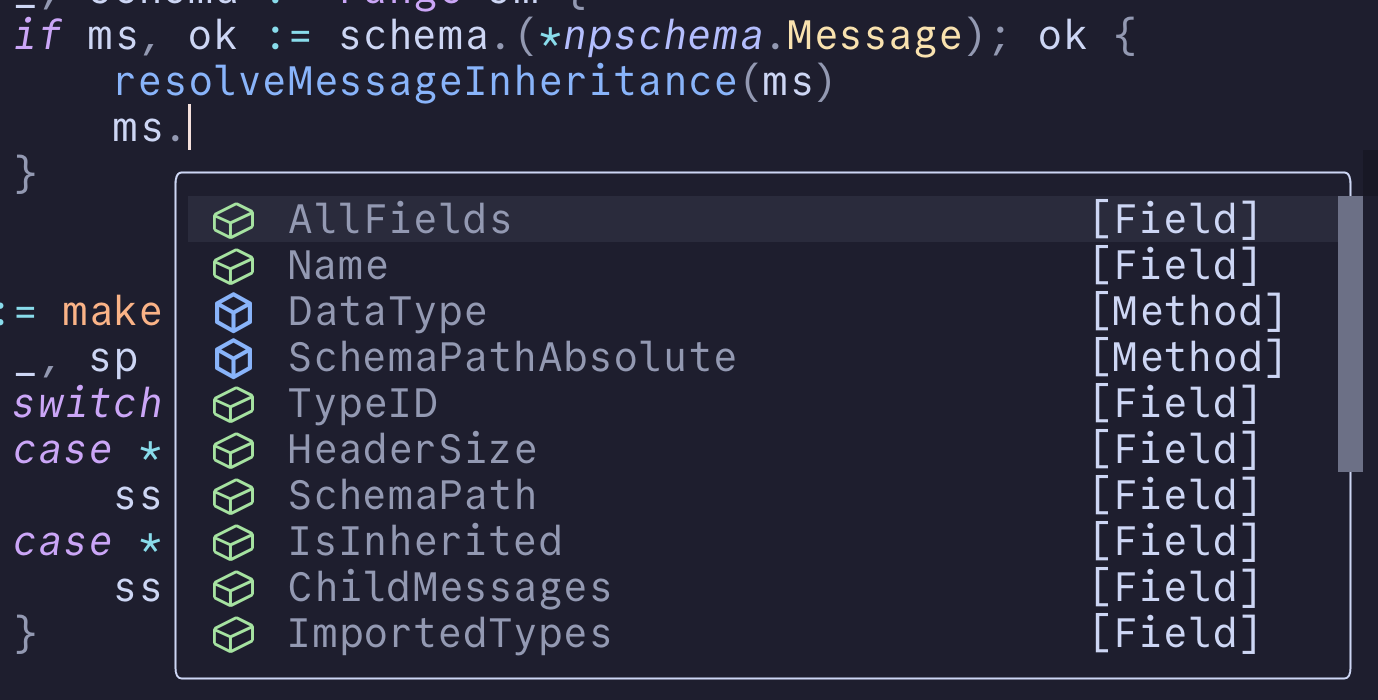
nvim-cmp also displays type info and docstring of the selected entry next to the popup:

telescope
telescope is a generic fuzzy finder that is highly extensible. it has a comprehensive list of built-in, ready-to-use pickers that you can use without any additional configuration. here are all the pickers that i have configured:
- find files;
- live grep, which searches through the content of all files in a directory;
- buffers, which searches through the list of opened buffers; and
- lsp references, which searches through all references to the symbol under the cursor in the project.
overriding default selection ui with telescope
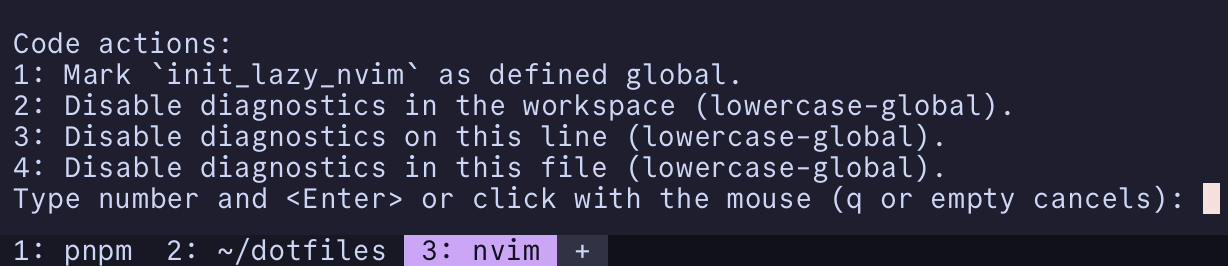
by default, when making selections in neovim (e.g. selecting an lsp code action), the list of actions appear at the bottom left of the screen:
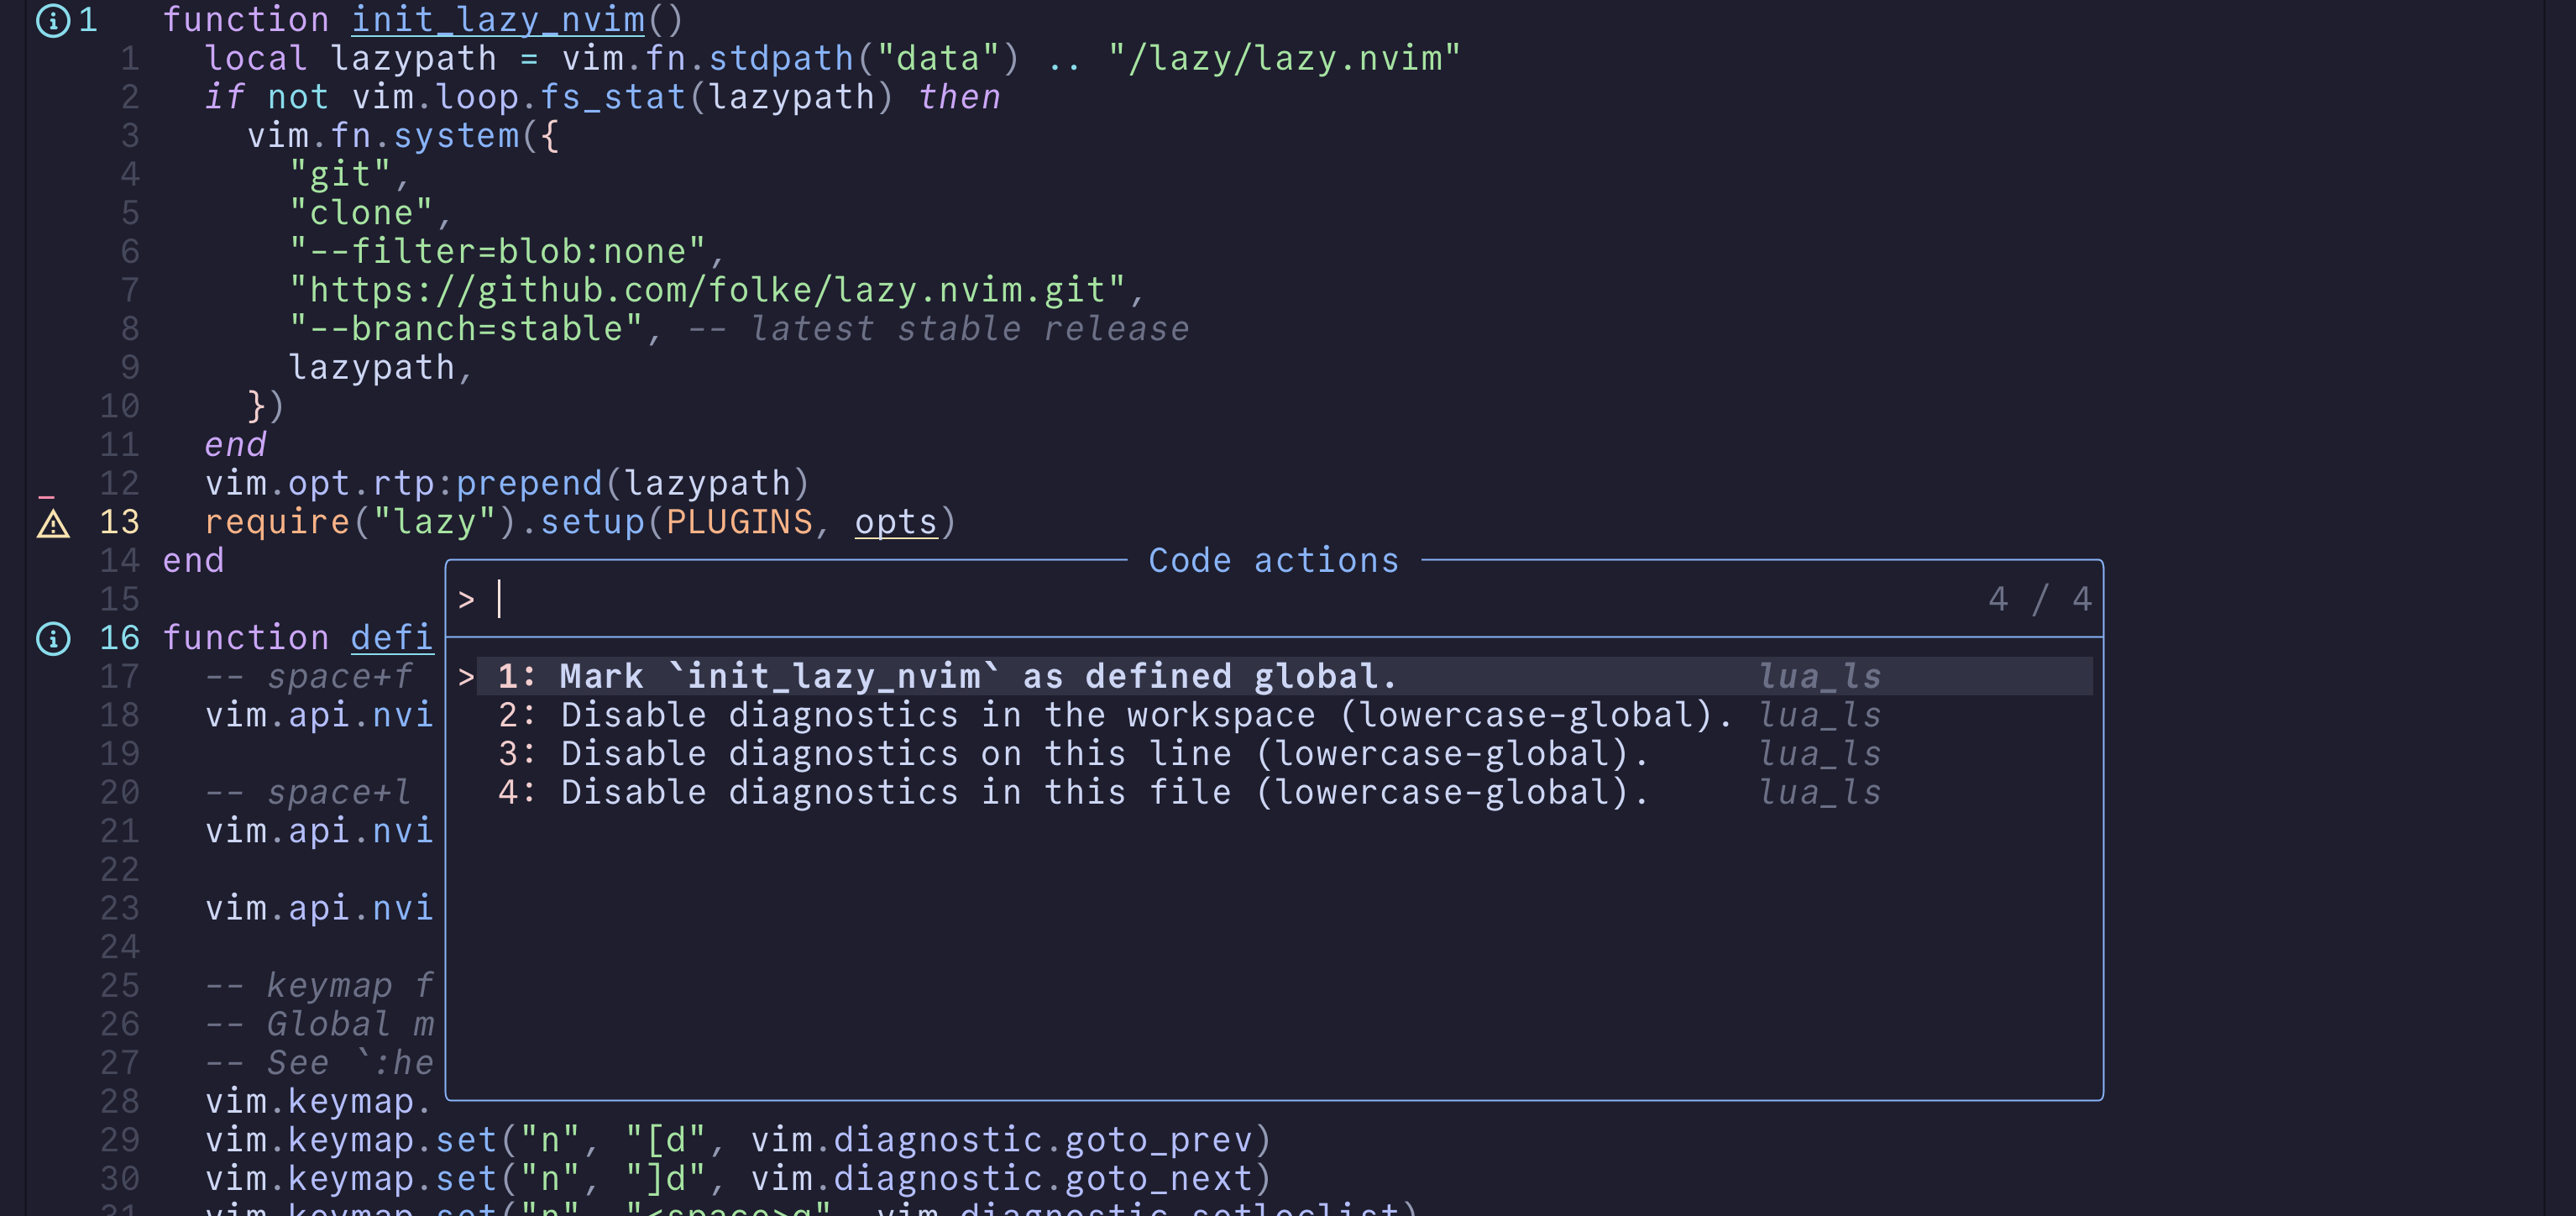
using telescope-ui-select, i can override the default selection ui to use telescope instead. now, not only is this list centered, i can also search through the list of actions:
git signs
gitsigns is a plugin that shows an indicator that indicates whether a line is inserted, changed, or deleted in git, next to the line numbers:
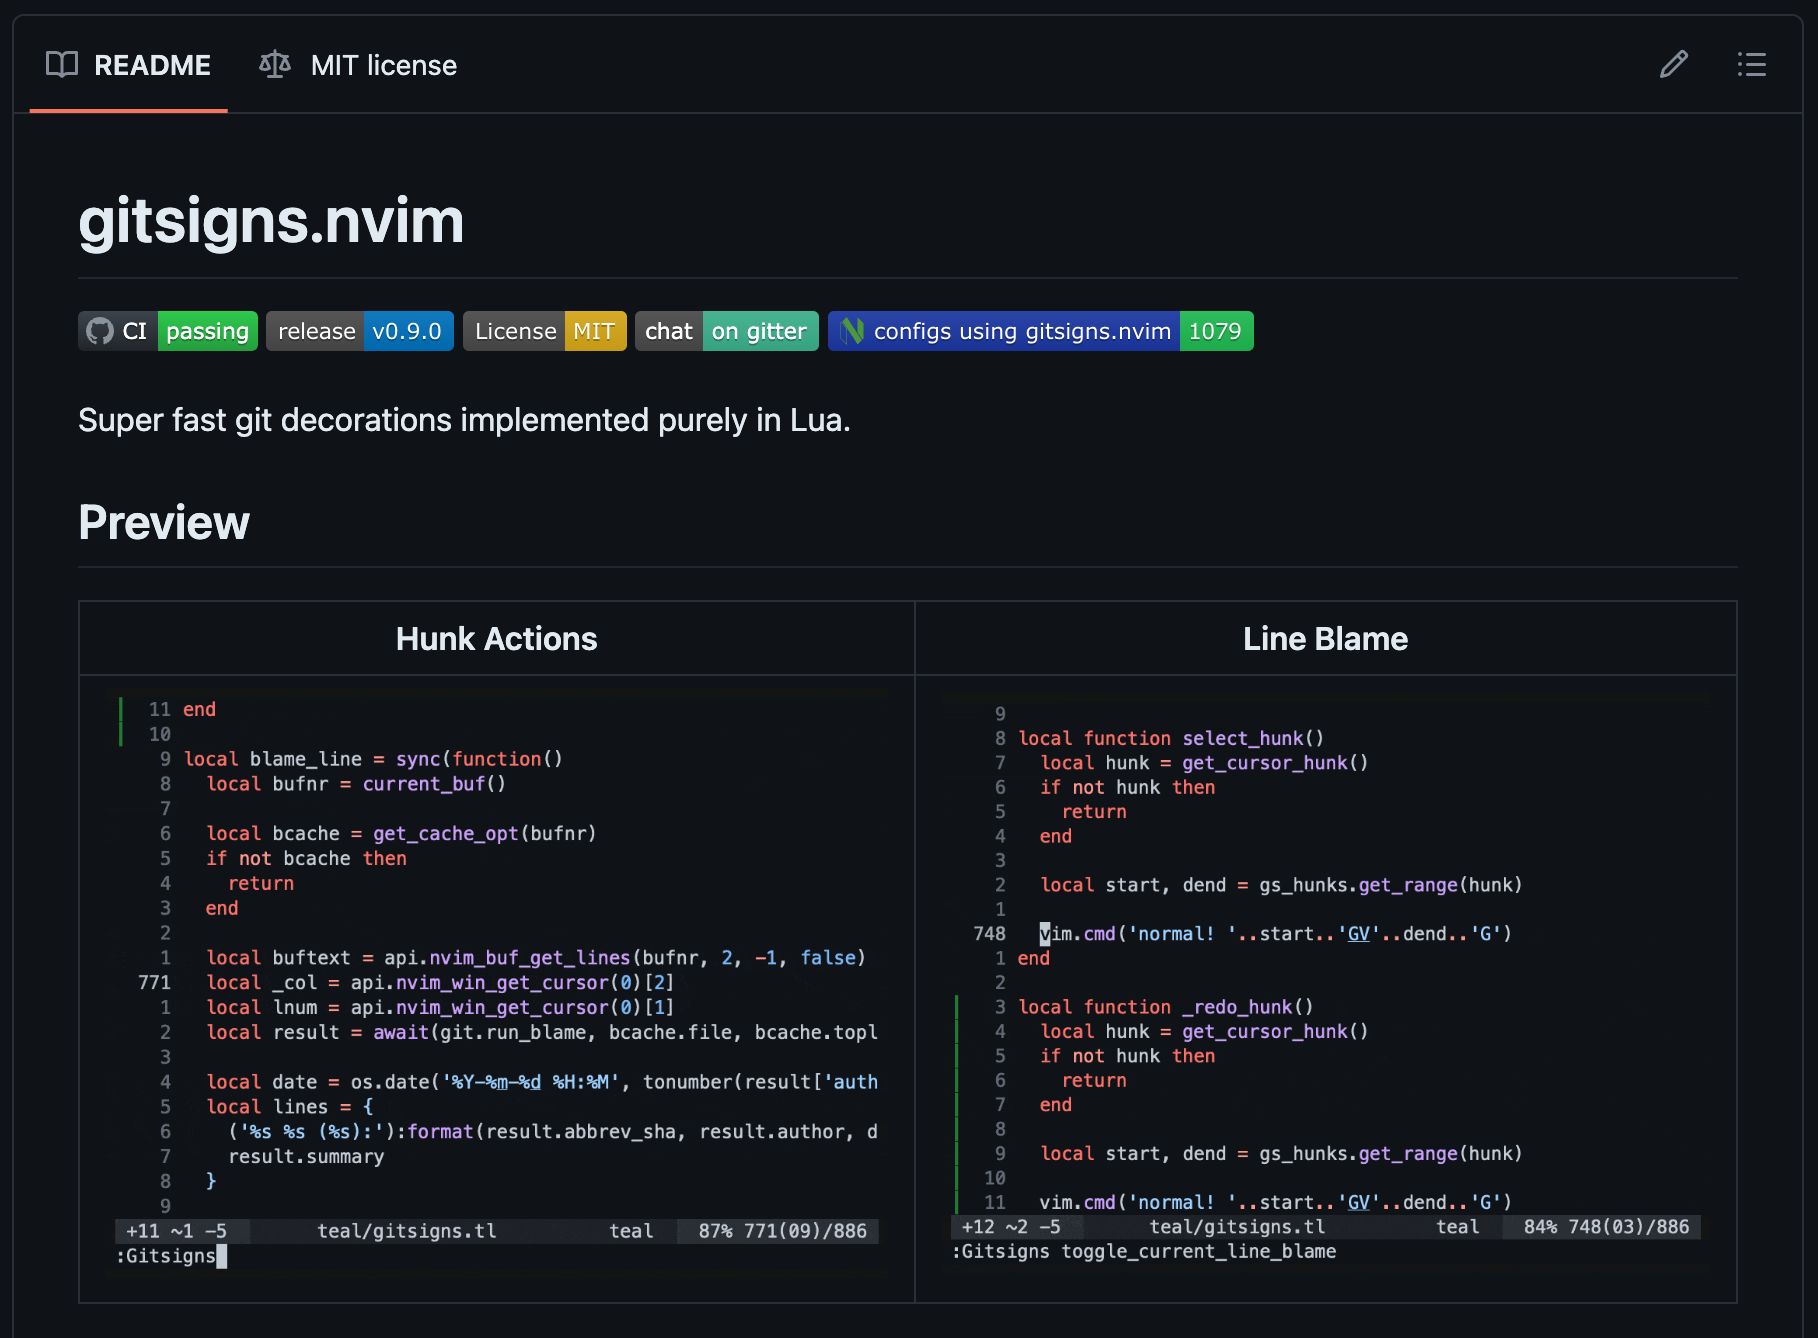
on top of that, it provides commands that let you preview the changes in a popup, like so:

it even lets you revert hunk changes!
keybinds
most of my neovim keybinds start with <space>. this is because the space bar is always under my two thumbs, making it easily accessible. also, it is just plain satisfying to begin any action with a space bar! following the space bar, i usually follow mnemonics of the action i want to trigger. here are some keybinds i use frequently:
<space>f: opens the file tree in a dialog<space>F: opens the search files telescope dialog<space>b: opens the buffer telescope dialog<space>g: opens live grep<space>lg: opens lazy-git.nvim<space>a: opens lsp live action dialog<space>u: finds all usages of the symbol under the cursor<space>hp: opens gitsigns’ hunk preview pop up<space>hr: performs a hunk revert
dotfiles
all my dotfiles, including my neovim config, lives here in a GitHub repo. the best way to install the dotfiles is to symlink the files to the appropriate path. for example, to use my neovim config on macOS, symlink the nvim directory to ~/.config/nvim.